Tag: Apache

  • How to enable Apache SSL module in Ubuntu

    How to enable Apache SSL module in Ubuntu

    To enable the Apache SSL module in Ubuntu, follow these steps

    Update apt package cache

    apt update
    

    Install Apache SSL module

    apt install libapache2-mod-ssl
    

    Enable the SSL module

    a2enmod ssl
    

    Example

    # a2enmod ssl
    Considering dependency setenvif for ssl:
    Module setenvif already enabled
    Considering dependency mime for ssl:
    Module mime already enabled
    Considering dependency socache_shmcb for ssl:
    Enabling module socache_shmcb.
    Enabling module ssl.
    See /usr/share/doc/apache2/README.Debian.gz on how to configure SSL and create self-signed certificates.
    To activate the new configuration, you need to run:
      service apache2 restart
    # 
    

    Restart Apache webserver

    # service apache2 restart
     * Restarting web server apache2     [ OK ] 
    #
    

    Verify Apache SSL module is installed.

    # apache2ctl -M | grep ssl
     ssl_module (shared)
    # 
    

    See Configure SSL in Apache

  • How to configure Security Headers in Apache

    How to configure Security Headers in Apache

    Enable HSTS

    Header set Strict-Transport-Security "max-age=31536000; includeSubDomains; preload"
    

    Enable X-Frame-Options

    Header always append X-Frame-Options SAMEORIGIN
    

    Enable X-XSS-Protection

    Header set X-XSS-Protection "1; mode=block"
    

    Enable X-Content-Type-Options

    Header always set X-Content-Type-Options "nosniff"
    

    Enable Referrer-Policy

    Header always set Referrer-Policy "strict-origin"
    

    Enable Content Security Policy (CSP)

    Header always set Content-Security-Policy "default-src 'self'; font-src *;img-src * data:; script-src *; style-src *;"
    

    Enable Permissions-Policy

    Header always set Permissions-Policy "geolocation=(),midi=(),sync-xhr=(),microphone=(),camera=(),magnetometer=(),gyroscope=(),fullscreen=(self),payment=()"
    

    Back to Apache

  • How to get list of User-Agent from access log

    How to get list of User-Agent from access log

    I wanted to block bots from accessing a website. For this, I need to generate a list of all browser User-Agent visiting the website, so I can see which ones can block. This work with most web servers like Apache, Nginx, IIS, etc.

    To get the list of all User-Agents, run

    awk -F\" '($2 ~ "^GET /"){print $6}' access_log | sort | uniq
    

    To get the List of all user agents with the number of visits, run

    awk -F\" '($2 ~ "^GET /"){print $6}' access_log | sort | uniq -c | sort -n
    

    If you want to show the most visited User-Agents first, use “sort -nr” for reverse sorting.

    awk -F\" '($2 ~ "^GET /"){print $6}' access_log | sort | uniq -c | sort -nr
    

    See Access Log

  • Apache 414 Request-URI Too Long

    Apache 414 Request-URI Too Long

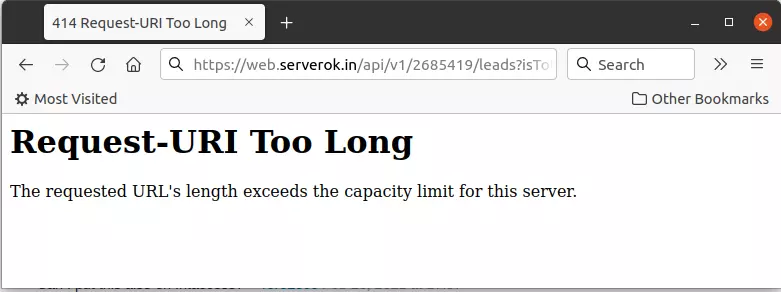
    On an Apache server, when accessing a long URL, got 414 Request-URI Too Long

    Apache 414 Request-URI Too Long

    The error is because the URL is too long, this may be a bug with the web applications. If you pass so much data, you should consider using the HTTP POST method instead of GET request.

    To fix this error, edit the apache config file, and add the following 2 lines

    LimitRequestLine 40940
    LimitRequestFieldSize 40940
    

    On Debian/Ubuntu, create

    vi /etc/apache2/conf.d/url-length.conf
    

    On RHEL based OS, create

    vi /etc/httpd/conf.d/url-length.conf
    

    Add the following 2 lines

    LimitRequestLine 40940
    LimitRequestFieldSize 40940
    

    Restart Apache

    For Ubuntu/Debian

    systemctl restart apache2
    

    For RHEL/AlmaLinux/OracleLinux

    systemctl restart httpd
    

    See Nginx HTTP 414 request-URI too large, Apache

  • How to deny access to a file using .htaccess?

    How to deny access to a file using .htaccess?

    You may need to deny access to specific files on your web server for security reasons. On the Apache web server, you can do this by using .htaccess file.

    Let’s say you need to prevent anyone from accessing the file with the name .user.ini, you can create a file with the name .htaccess with the following content

    
        Require all denied


    Here is another example, that prevents access to file with name config.php

    
        Require all denied


    If you want to deny access to a folder, create a .htaccess file inside the folder with the following content

    deny from all
    

    If you want to allow whitelisted IP to access a folder, then use the following .htaccess file.

    Order Allow,Deny
    Allow from YOUR_IP_HERE
    Deny from all
    
  • How to install Apache from source code

    How to install Apache from source code

    To install the latest version of Apache Web Server from source code, go to the apache website, download the latest source code .tar.gz file.

    https://httpd.apache.org/download.cgi

    At the time of writing this, the latest version was Apache HTTP Server 2.4.52.

    cd /usr/local/src
    wget --no-check-certificate https://dlcdn.apache.org//httpd/httpd-2.4.52.tar.gz
    tar xvf httpd-2.4.52.tar.gz
    cd /usr/local/src/httpd-2.4.52
    ./configure --prefix=/usr/local/apache --enable-proxy --enable-proxy-connect --enable-proxy-fcgi --enable-remoteip
    make
    make install
    

    If you get an error related to APR

    checking for APR... no
    configure: error: APR not found.  Please read the documentation.
    

    Install APR with

    For RHEL

    yum -y install apr-devel apr-util-devel
    

    For Ubuntu/Debian

    apt install libapr1-dev libaprutil1-dev libpcre3-dev build-essential
    

    To start Apache, use the command

    /usr/local/apache/bin/apachectl start
    

    To stop

    /usr/local/apache/bin/apachectl stop
    

    Apache config files are located at

    /usr/local/apache/conf/httpd.conf
    

    Create Apache Service file

    ?

    Create file

    vi /usr/lib/systemd/system/apache2.service
    
    
    With the following content
    
    
    [Unit]
    Description=The Apache HTTP Server
    After=network.target remote-fs.target nss-lookup.target
    
    [Service]
    Type=forking
    ExecStart=/usr/local/apache/bin/apachectl start
    ExecReload=/usr/local/apache/bin/apachectl graceful
    ExecStop=/usr/local/apache/bin/apachectl graceful-stop
    LimitNOFILE=65535
    
    [Install]
    WantedBy=multi-user.target
    

    Enable and start Apache service with

    systemctl daemon-reload
    systemctl enable apache2
    systemctl restart apache2
    

    To enable Apache module, you can edit file /usr/local/apache/conf/httpd.conf

    Here are sed commands to enable some common apache modules

    sed -i 's/^#LoadModule proxy_module/LoadModule proxy_module/g'  /usr/local/apache/conf/httpd.conf
    sed -i 's/^#LoadModule proxy_fcgi_module/LoadModule proxy_fcgi_module/g'  /usr/local/apache/conf/httpd.conf
    sed -i 's/^#LoadModule ssl_module/LoadModule ssl_module/g'  /usr/local/apache/conf/httpd.conf
    sed -i 's/^#LoadModule rewrite_module/LoadModule rewrite_module/g'  /usr/local/apache/conf/httpd.conf
    
  • Apache 413 Request Entity Too Large

    Apache 413 Request Entity Too Large

    On a CentOS server, when uploading a 100 MB video file in WordPress media manager, I got the following error message

    Request Entity Too Large
    The requested resource /wp-admin/async-upload.php
    does not allow request data with POST requests, or the amount of data provided in the request exceeds the capacity limit.
    

    The server had mod_security installed. I edited the mod_security config file

    vi /etc/httpd/conf.d/mod_security.conf
    

    Set following for values and restart Apache.

    SecRequestBodyLimit 1073741824000
    SecRequestBodyNoFilesLimit 1073741824000
    SecRequestBodyInMemoryLimit 1073741824000
    

    But I still get the same error. So I disabled mod_security by moving the config file to a temporary directory and restarting apache.

    The error was due to Apache setting LimitRequestBody, the error is fixed by adding “LimitRequestBody 0” in the .htaccess file used by WordPress.

    LimitRequestBody 0
    

    Now when I enable mod_security, I get 500 error, I disabled mod_seurity for the file upload PHP script used by WordPress by editing the Apache VirtualHost entry of the website and adding

    
        SecRuleEngine Off
    
    
  • How to debug Apache VirtualHost not working

    How to debug Apache VirtualHost not working

    On an Apache webserver running in Ubuntu, I added a VirtualHost entry for a domain name. But instead of showing the page, it shows the website from the default Apache VirtualHost (000-default.conf). At first, I was thinking it is because Apache was somehow not able to handle Named Virtual Hosts. So I created another domain name on the server, that worked fine. Only this specific domain name VirtualHost did not work.

    To see Apache VirtualHost configuration, run

    apachectl -S
    

    When I run the above command, the domain name with the problem was listed as the default website. I changed 000-default.conf, no domain name was specified in the file. The problem was because the hostname of the server is the same as the domain name I was trying to set up.

    To fix this, I change the hostname of the webserver with the command

    hostname-ctl set-hostname NEW_HOSTNAME_HERE
    

    Restart Apache web server

    systemctl restart apache2
    

    See Apache

  • Running Apache VirtualHost under separate user with mpm-itk

    Running Apache VirtualHost under separate user with mpm-itk

    mpm-itk allow you to run Apache VirtualHost under a specific user/group instead of under the Apache user/group. On Debian/Ubuntu Apache web server is run under user www-data. When you host multiple websites under an Apache server, running all sites under the same www-data user allows a hacker to access files of other sites if one of the sites is hacked. Having apache VirtualHost run as it own user give user-level isolation for each of your website. This also avoids permission-related errors due to apache running as a different user than the user you use to upload the files.

    mpm-itk is non-threaded, it works file with mod_php. It works very similarly to mod_ruid2, which is removed from the latest Debian due to a security issue.

    On Debian/Ubuntu, you can install it with

    apt install libapache2-mpm-itk
    

    During the installation, the apache module gets enabled by default, you can enable/disable it with command

    a2dismod mpm_itk
    a2enmod mpm_itk
    

    To activate mpm-itk, all you need to do is add the following code to the Apache VirtualHost entry of your website.

    
        AssignUserID USERNAME GROUP


    I normally create a user with the command

    useradd -m --shell /bin/bash --home /home/DOMAIN_NAME USERNAME
    

    Then create a VirtualHost like the following

    vi /etc/apache2/sites-available/DOMAIN_NAME.conf
    

    Add

    
        ServerName DOMAIN_NAME
        ServerAlias www.DOMAIN_NAME
        ServerAdmin info@DOMAIN_NAME
        DocumentRoot /home/DOMAIN_NAME/html
        CustomLog ${APACHE_LOG_DIR}/DOMAIN_NAME.log combined
        ErrorLog ${APACHE_LOG_DIR}/DOMAIN_NAME-error.log
        Header always append X-Frame-Options SAMEORIGIN
        
            AssignUserID USERNAME USERNAME
        
        
            Options All -Indexes
            AllowOverride All
            Require all granted
            Order allow,deny
            allow from all


    Enable VirtialHost with

    a2ensite DOMAIN_NAME
    

    Create website folders

    mkdir /home/DOMAIN_NAME/html/
    chown -R USERNAME:USERNAME /home/DOMAIN_NAME/
    chmod -R 755 /home/DOMAIN_NAME/
    

    Restart Apache webserver

    systemctl restart apache2
    

    Back to Apache

  • Apache Location

    Apache Location

    To only allow requests from a specific IP to a location, use

    
      Require ip 59.92.71.53 51.38.246.115


      Require ip 59.92.71.53 51.38.246.115


    Add custom headers based on location

    
      Require ip 59.92.71.53 51.38.246.115
      Header edit Location ^/browse /internal/stream/browse
               AddOutputFilterByType INFLATE;SUBSTITUTE;DEFLATE text/html text/plain text/xml
               Substitute "s#\"/(fields|browse|machine|entries)#\"/internal/stream/$1#i"
    
    
  • Apache Proxy

    Apache Proxy

    To proxy requests in Apache

    <VirtualHost *:80>
    ServerName youdomain.com
    ProxyRequests Off
    ProxyPreserveHost On
    ProxyPass "/" "http://localhost:9292/"
    ProxyPassReverse "/" "http://localhost:9292/"
    </VirtualHost>​

    The ProxyPreserveHost directive in Apache’s configuration is used in the context of a reverse proxy setup. When this directive is set to On, it tells Apache to pass the original Host header from the client request to the proxied server

    ProxyRequests Off – This directive turns off forward proxying. In forward proxying, the proxy server forwards client requests to the internet. By setting ProxyRequests Off, you are ensuring that Apache only acts as a reverse proxy, not a forward proxy.

    To proxy on cpanel server, use

    mkdir -p /etc/apache2/conf.d/userdata/ssl/2_4/USERNAME/DOMAIN.EXTN/
    vi /etc/apache2/conf.d/userdata/ssl/2_4/USERNAME/DOMAIN.EXTN/proxy.conf

    Add the following to the proxy.conf, change ports as needed

    ProxyPreserveHost On
    ProxyPass "/" "http://localhost:9292/"
    ProxyPassReverse "/" "http://localhost:9292/"

    Rebuild Apache config

    /scripts/rebuildhttpdconf
    service httpd restart

  • CPanel  SSL Renew on password protected site

    CPanel SSL Renew on password protected site

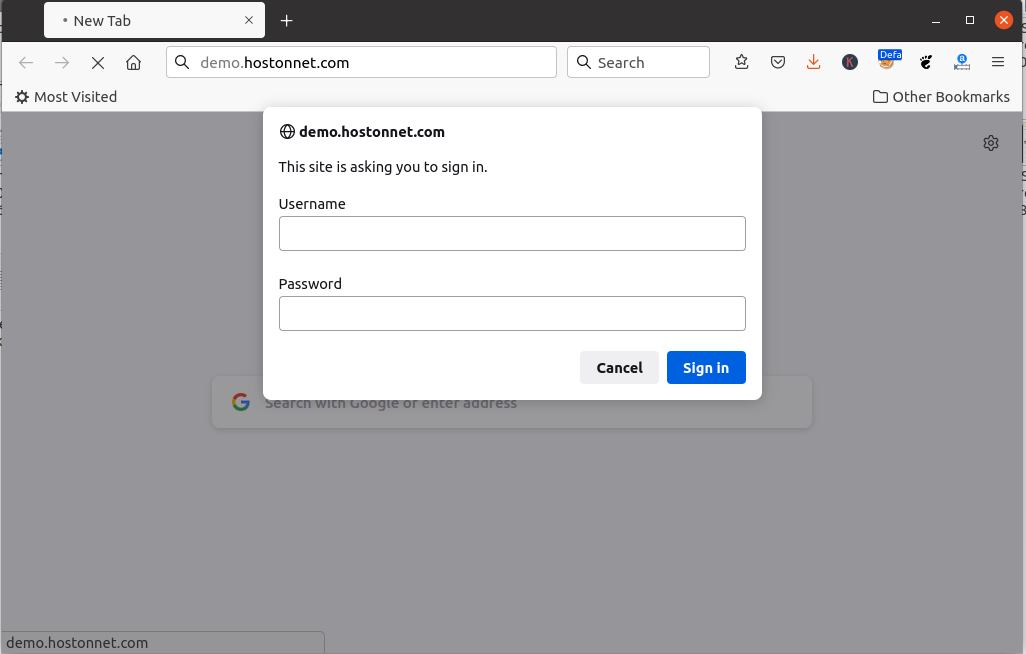
    We have a site where we host demo websites that we do for our customers. We don’t want search engines to index these sites or strangers to see them. So it is password protected. The problem is Cpanel Auto SSL needs to access URI like /.well-known/ for SSL domain validation. With password protection, SSL domain verification fails and you won’t be able to renew the SSL certificate.

    In this post, I am doing it for domain demo.hostonnet.com with Cpanel username hostond.

    cpanel password protected site ssl

    Redirect HTTP to HTTPS

    I want to force all buy SSL verification requests to get redirected to HTTPS. For this, i created a folder

    mkdir -p /etc/apache2/conf.d/userdata/std/2_4/hostond/demo.hostonnet.com/
    

    Now create a file

    vi /etc/apache2/conf.d/userdata/std/2_4/hostond/demo.hostonnet.com/force-ssl.conf
    

    Add following content to it.

    RewriteEngine On 
    RewriteCond %{REQUEST_URI} !^/\.well-known/
    RewriteRule ^/?(.*) https://%{SERVER_NAME}/$1 [R,L]
    

    This will redirect all requests that do not start with URI .well-known to HTTPS.

    Password Protect site

    Since HTTP only allows domain validation (pages inside folder .well-known) and redirects all other requests to HTTPS, we only need to password protect the HTTPS side of the website.

    First, create a directory

    mkdir -p /etc/apache2/conf.d/userdata/ssl/2_4/hostond/demo.hostonnet.com/
    

    Create file

    vi /etc/apache2/conf.d/userdata/ssl/2_4/hostond/demo.hostonnet.com/password.conf
    

    Add following content

    
        AuthType Basic
        AuthName "Restricted Content"
        AuthUserFile /etc/apache2/demo-hon-htpaswd
        Require valid-user


    Setting Password

    HTTP Basic authentication password is stored in file /etc/apache2/demo-hon-htpaswd. To set password, use htpasswd command.

    To create a user, use

    htpasswd -c /etc/apache2/demo-hon-htpaswd admin
    

    This will create a user with the username “admin”. You will be asked to enter a password.

    Now restart apache

    systemctl restart httpd
    

    See Cpanel Server