To install Zimbra, Download the latest version of “Zimbra Collaboration Open Source” form
https://www.zimbra.com/downloads/
At the time of this post, the latest version is 8.8.15 GA Release.
System Requirments
Zimbra recommends 8 GB of RAM. For detailed system requirements, see Zimbra System Requirements
I have installed it on servers with 4 GB RAM without any problem. If you are installing on a server with 4 GB RAM, make sure you add swap in cause you run out of RAM.
dd if=/dev/zero of=/swapfile bs=1M count=4096
mkswap /swapfile
chmod 0600 /swapfile
swapon /swapfile
echo "/swapfile swap swap defaults 0 0" >> /etc/fstab
Set Hostname
Zimbra needs you to set the proper hostname for your server.
hostnamectl set-hostname mail.yourdomain.com
First, add an A record for your hostname and point it to your server IP.
Now edit /etc/hosts and add an entry like
IP_ADDR mail.yourdomain.com mail
Where mail.yourdomain.com is your FQDN.
Set MX Record
During installation Zimbra checks for MX records, so make sure you set MX record for your domain, point it to the server where you install Zimbra.
Install Zimbra on Ubuntu 20.04
Download the latest version of Zimbra from
https://www.zimbra.com/downloads/zimbra-collaboration-open-source/
To install Zimbra, run
cd /usr/local/src
wget https://files.zimbra.com/downloads/8.8.15_GA/zcs-8.8.15_GA_4179.UBUNTU20_64.20211118033954.tgz
tar xvf zcs-8.8.15_GA_4179.UBUNTU20_64.20211118033954.tgz
cd zcs-8.8.15_GA_4179.UBUNTU20_64.20211118033954
./install.sh
It will ask some questions. For most questions, you can just press enter as that is the default option (Y).
Once install is done, you will be asked to set an admin password.
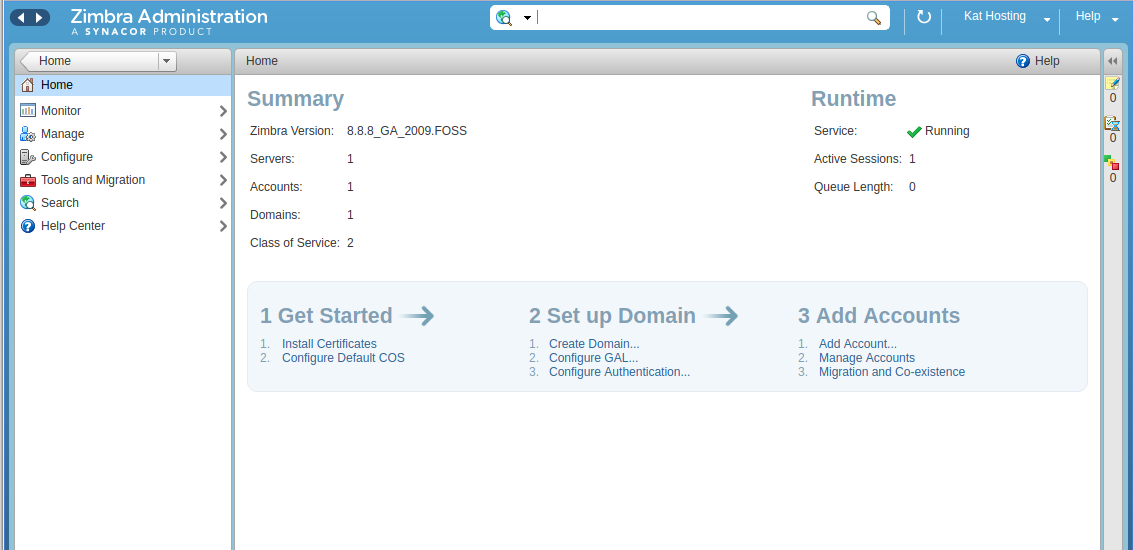
After the installation is done, you will be able to login to the Zimbra Admin area at
https://mail.yourdomain.com:7071/zimbraAdmin/
Webmail available at
https://mail.yourdomain.com
Zimbra

