Tag: ubuntu 18.04

  • Install ionCube on Ubuntu 18.04

    Install ionCube on Ubuntu 18.04

    Download ioncube loader from

    https://www.ioncube.com/loaders.php

    cd /usr/local/src
    wget https://downloads.ioncube.com/loader_downloads/ioncube_loaders_lin_x86-64.tar.gz
    tar xvf ioncube_loaders_lin_x86-64.tar.gz
    cd ioncube/
    

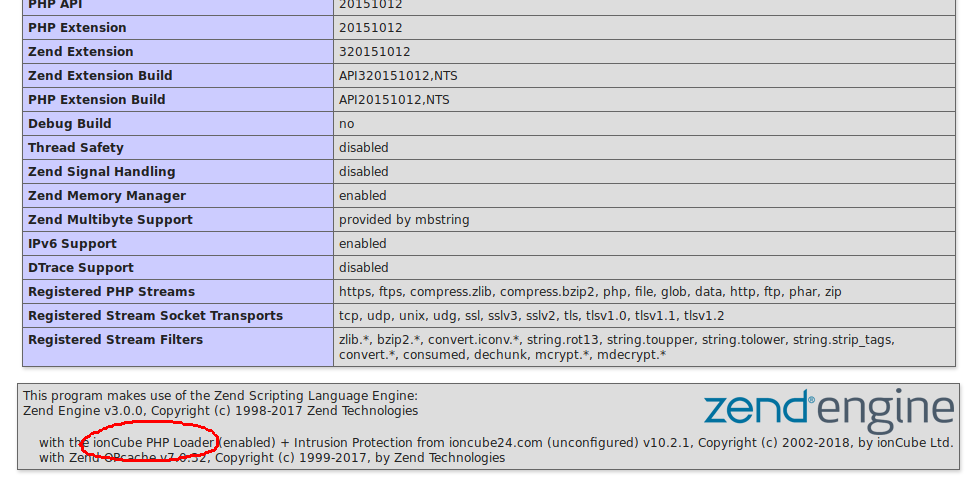
    Find extension diretcory and copy .so file to php extension diretcory. To find php extension directory run

    php -i | grep  extension_dir
    

    For PHP 7.2, run

    cp /usr/local/src/ioncube/ioncube_loader_lin_7.2.so /usr/lib/php/20170718 
    

    Enable ioncube

    echo "zend_extension=ioncube_loader_lin_7.2.so" > /etc/php/7.2/mods-available/ioncube.ini
    ln -s /etc/php/7.2/mods-available/ioncube.ini /etc/php/7.2/cli/conf.d/01-ioncube.ini
    

    for Apache, run

    ln -s /etc/php/7.2/mods-available/ioncube.ini /etc/php/7.2/apache2/conf.d/01-ioncube.ini
    systemctl restart apache2
    

    for php-fpm, run

    ln -s /etc/php/7.2/mods-available/ioncube.ini /etc/php/7.2/fpm/conf.d/01-ioncube.ini
    systemctl restart php7.2-fpm
    
  • Ubuntu 18.04 Remove Trash Icon from Desktop

    Ubuntu 18.04 Remove Trash Icon from Desktop

    First find the Trash related settings with gsettings command.

    boby@ok-pc-01:~$ gsettings  list-recursively | grep -i trash
    org.gnome.gedit.plugins.filebrowser.nautilus confirm-trash true
    org.gnome.desktop.privacy remove-old-trash-files false
    org.gnome.eog.ui disable-trash-confirmation false
    org.gnome.nautilus.preferences confirm-trash true
    org.gnome.nautilus.preferences show-move-to-trash-shortcut-changed-dialog true
    org.gnome.DejaDup exclude-list ['$TRASH', '$DOWNLOAD']
    org.gnome.nautilus.desktop trash-icon-name 'Trash'
    org.gnome.nautilus.desktop trash-icon-visible true
    boby@ok-pc-01:~$ 
    

    To disable the Trash Icon on desktop, run

    gsettings set org.gnome.nautilus.desktop trash-icon-visible false
    

    Method 2

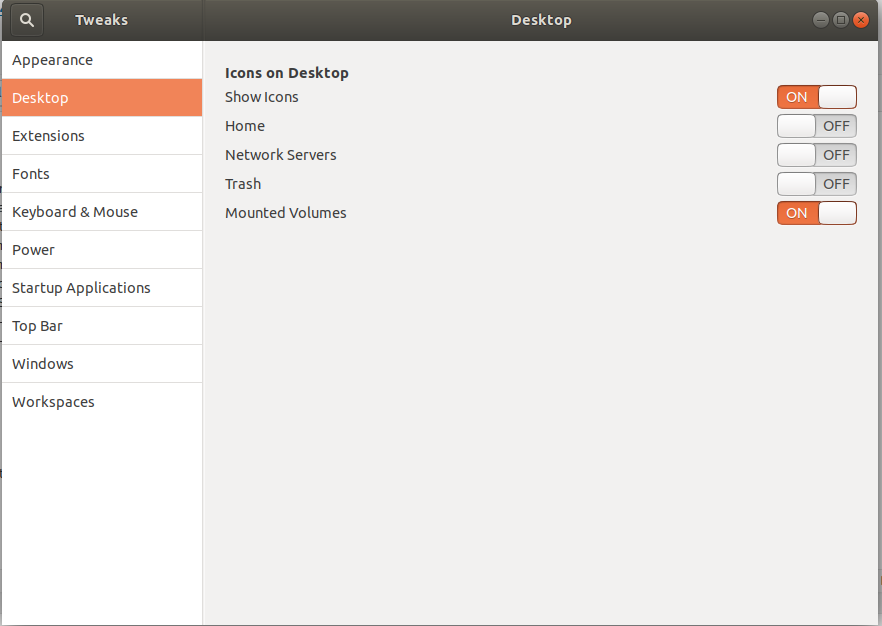
    If you have gnome tweaks tool installed, go to Desktop, you have option to disable Trash Icon.

    Ubuntu 18.04 remove trash

    See Ubuntu 18.04

  • Enable Hot Corner in Ubuntu 18.04

    Enable Hot Corner in Ubuntu 18.04

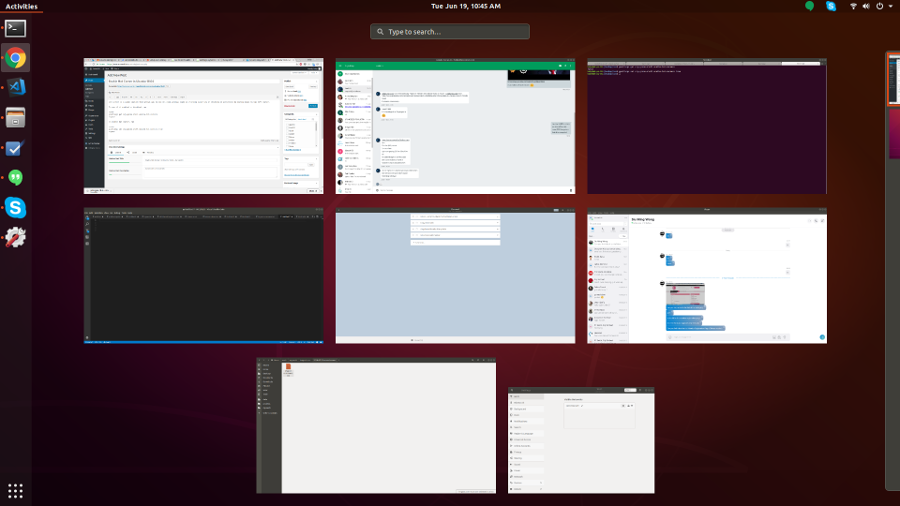
    Hot Corner is a Gnome Feature that allows you to see all open windows (same as clicking Super key or clicking on Activites) by moving mouse to top left corner.

    Ubuntu 18.04 hot corner

    To see if hot corner is enabled or disabled, run

    gsettings get org.gnome.shell enable-hot-corners
    

    To enable hot corner, run

    gsettings set org.gnome.shell enable-hot-corners true
    

    EDIT: After using enable hot corner for a day, i found my mouse reach this corner accidetly multiple times. Seeing activites page unexpectedly when you want someting else is confusing. For Ubuntu, it is better to keep it disabled.

    To disable, run

    gsettings set org.gnome.shell enable-hot-corners false
    

    See Ubuntu 18.04

  • Separate Google Hangout icon in Ubuntu 18.04/20.04

    On Ubuntu 18.04/20.4, when you install google hangout plugin in google chrome, it shows samne as Google Chrome Icon. It act like you have opened 2 windows, it is hard to switch between as every time you click on Google chrome icon in side bar, it ask you to select which window to switch to.
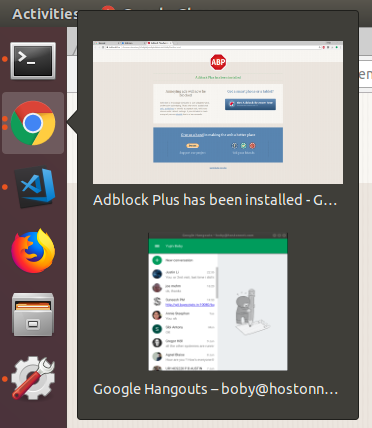
    Ubuntu Google Hangout Icon

    On Ubuntu 16.04, it shows same icon, but windows won’t combine in side bar, so you can click them seperately. To make Hangout show differnt icon in Ubuntu 18.04, first find ID of Google Hangout plugin. Go to Menu > More Tools > Extensions.

    You need to enable “Developer mode” to see Extension ID, this can be done on extension page top-right side.
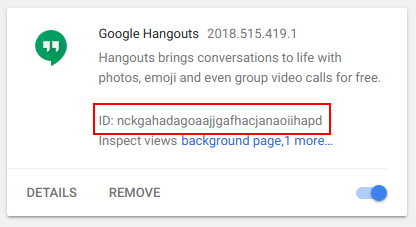
    Google Hangout Plugin id

    In this cause, we found ID of Google Hangout Extension as “nckgahadagoaajjgafhacjanaoiihapd”. This can change, so always find ID of extension you have installed.

    Now create a file (make sure you replace GOOGLE_HANGOUT_PLUGIN_ID with ID you found in step above).

    vi ~/.local/share/applications/chrome-GOOGLE_HANGOUT_PLUGIN_ID-Default.desktop
    

    Add following to the file

    #!/usr/bin/env xdg-open
    [Desktop Entry]
    Version=1.0
    Terminal=false
    Type=Application
    Name=Gmail
    Exec=/opt/google/chrome/google-chrome --profile-directory=Default --app-id=GOOGLE_HANGOUT_PLUGIN_ID
    Icon=chrome-GOOGLE_HANGOUT_PLUGIN_ID-Default
    NoDisplay=true
    StartupWMClass=crx_GOOGLE_HANGOUT_PLUGIN_ID
    

    Save and exit. Here is what i have on my computer.

    boby@ok-pc-01:~$ cat ~/.local/share/applications/chrome-nckgahadagoaajjgafhacjanaoiihapd-Default.desktop
    #!/usr/bin/env xdg-open
    [Desktop Entry]
    Version=1.0
    Terminal=false
    Type=Application
    Name=Gmail
    Exec=/opt/google/chrome/google-chrome --profile-directory=Default --app-id=nckgahadagoaajjgafhacjanaoiihapd
    Icon=chrome-nckgahadagoaajjgafhacjanaoiihapd-Default
    NoDisplay=true
    StartupWMClass=crx_nckgahadagoaajjgafhacjanaoiihapd
    boby@ok-pc-01:~$ 
    

    Now if you start Google Hangout, it will show as differnt application. But Hangout won’t show generic icon.

    To get hangout show proper icon, right click and save following icon file

    Google Hangout Icon for Ubuntu 18.04

    Rename it as “chrome-GOOGLE_HANGOUT_PLUGIN_ID-Default.png”. Make sure to replace “GOOGLE_HANGOUT_PLUGIN_ID” with your actial plugin id. In my case, the name of the file is “chrome-nckgahadagoaajjgafhacjanaoiihapd-Default.png”

    Put the icon file in following location.

    ~/.local/share/icons/hicolor/128x128/apps/chrome-GOOGLE_HANGOUT_PLUGIN_ID-Default.png
    

    Now restart your computer or restart Gnome Shell, you will have new shiny icon for google hangout.
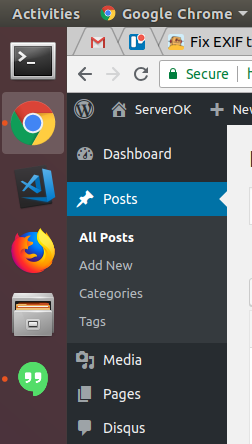
    Google Hangout Separate Icon Ubuntu 18.04

    See Ubuntu 18.04

  • Things to do after installing Ubuntu 18.04

    Things to do after installing Ubuntu 18.04

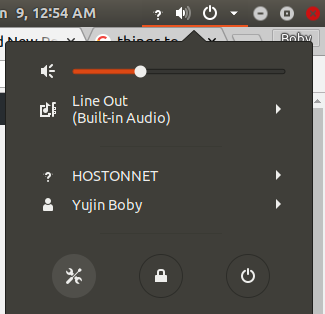
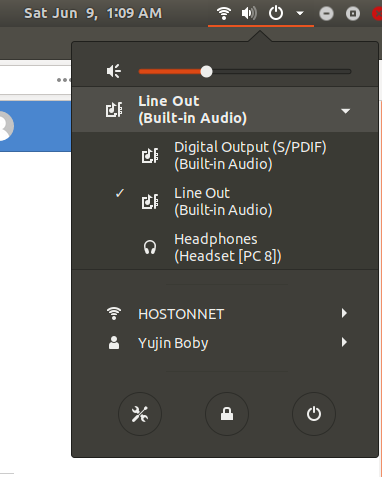
    Today i installed Ubuntu 18.04. Ubuntu 18.04 use GNOME desktop instead of Unity Desktop. I like some of the new features, but missed some feeatured i am used to in Ubuntu 16.04. First thing i notice was i can’t easy change sound output device like in Ubuntu 16.04, i expected Ubuntu 18.04 made it easier. But after spending some time, i found out i can customize Gnome to make it work like i need.

    Show date in top bar

    I want to show date along with time in top bar. To enable this, you need to install gnome-tweek-tool.

    sudo  apt-get install gnome-tweak-tool
    

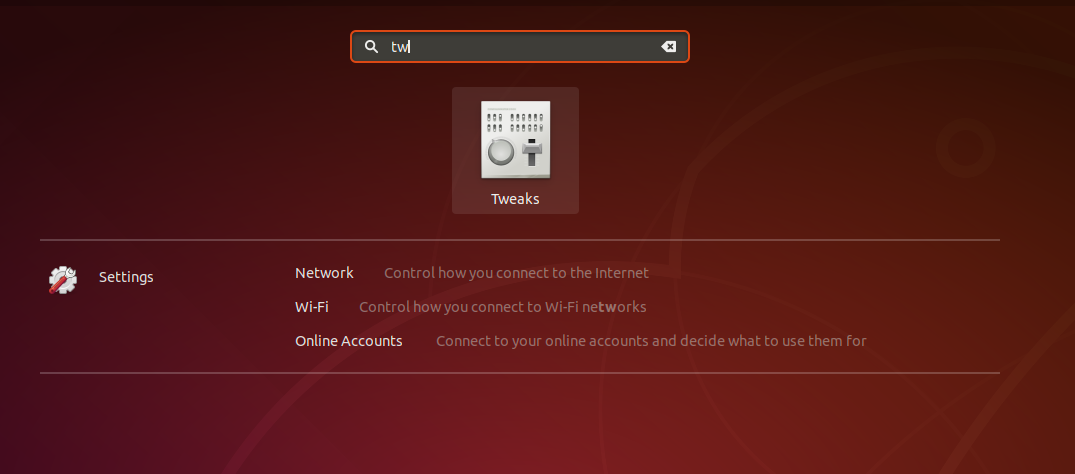
    Now start gnome tweak tool, this is available as Tweaks

    Gnome Tweaks

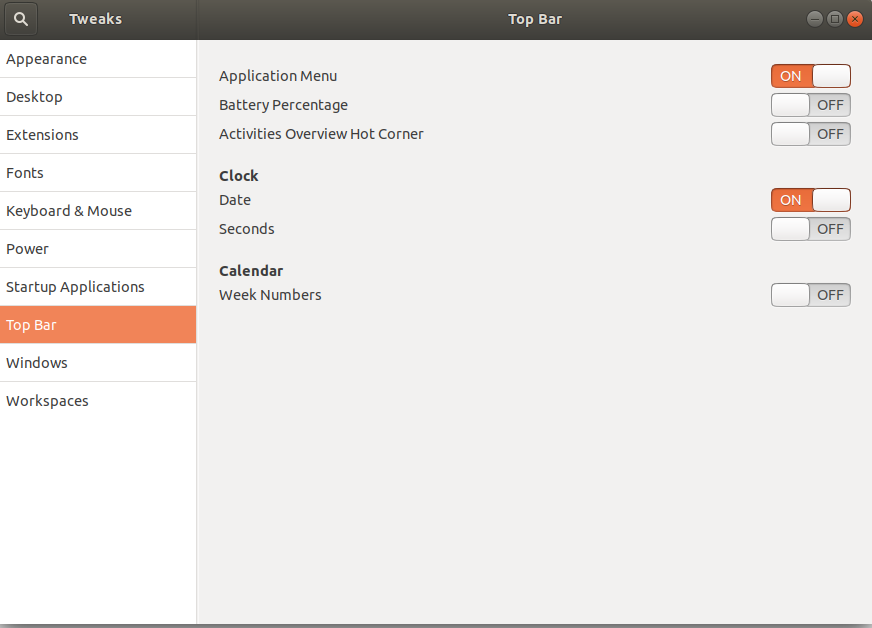
    Go to Tweaks > Top Bar. Under clock, set “Date” to On.

    Gnome Tweaks Enable Date

    Now you will see full date along with time.

    Set time 12 Hour format

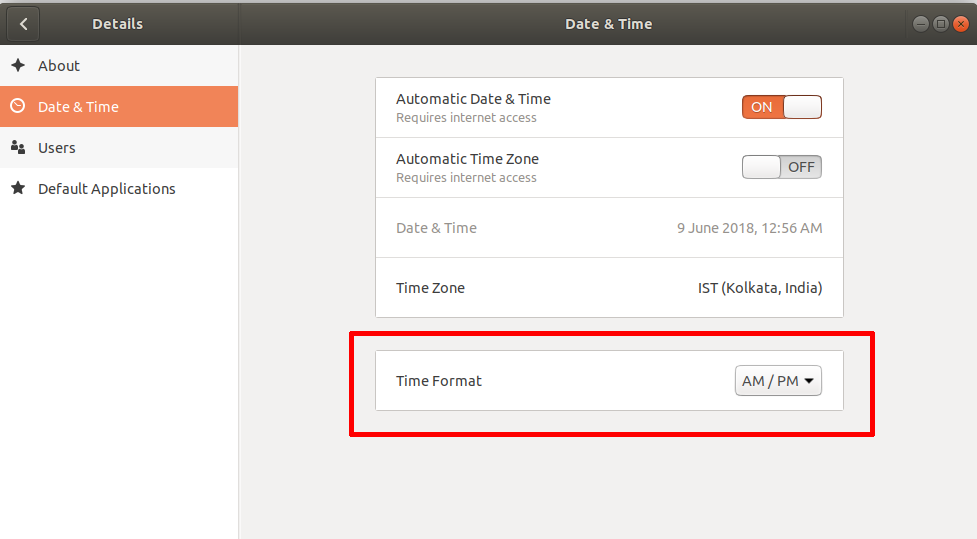
    By default Ubuntu 18.04 show time in 24 hour format. I prefer 12 hour format with AM/PM.

    Click on Power button, select Settings.

    Go to Details > Date & Time

    Gnome Shell Extensions

    You can customise how GNOME work by installing extensions. This is just like google chrome/firefox extensions. Installing is easy.

    First run

    sudo apt install gnome-shell-extensions chrome-gnome-shell
    

    Now open your web browser, visit

    https://extensions.gnome.org

    This will ask you to install a browser plugin, so you can install Gnome Extensions easily from the browser itself.

    For Firefox, install plugin

    https://addons.mozilla.org/en-US/firefox/addon/gnome-shell-integration/

    Create an account in Gnome.org, so you can manage your extensions.

    Here is some of the Gnome Extensions i installed.

    Unite

    Unite make your Gnome Top bar like Unity. Date get moved to right side. Also application close buttons merge with top bar like in Ubunty. This save from top space. This is highly recommended if you are a Unity user switching to Gnome.

    You can install it from

    https://extensions.gnome.org/extension/1287/unite/

    Sound Input & Output Device Chooser

    This Gnome Extension allow you to easily switch sound devices.

    You can get it from

    https://extensions.gnome.org/extension/906/sound-output-device-chooser/

    Remove Totem

    Ubuntu come with Torem video player. I perfer VLC. Remove Totem and install VLC with

    sudo apt remove --purge totem
    sudo apt install -y vlc