https://www.paddle.com – Payment processing for SaaS.
Category: Uncategorized
-
Enable SSL in Haproxy Docker Container
I have a haproxy container running on port 80. This container is started with command
docker run -d -p 80:80 --name haproxy1 -v /home/ubuntu/haproxy:/usr/local/etc/haproxy:ro haproxy:1.7
This haproxy used following configuration file /home/ubuntu/haproxy/haproxy.cfg
global

defaults

frontend sok-front-end
    bind *:80
    mode http
    default_backend sok-front-end

backend sok-front-end
    mode http
    balance roundrobin
    server srv3 172.17.0.2:8000
To make this haproxy work with SSL, first create a ssl.pem file with your SSL certificate contents in following order
1) Your Private Key
2) Your SSL CRT
4) CA-BUNDLE
copy and paste all those certs into ssl.pem file inside /home/ubuntu/haproxy/ssl.pem
Now modify your /home/ubuntu/haproxy/haproxy.cfg file as follows
global

defaults

frontend sok-front-end
    bind *:80
    bind :::443 ssl crt /usr/local/etc/haproxy/ssl.pem
    acl https ssl_fc
    http-request set-header X-Forwarded-Proto http  if !https
    http-request set-header X-Forwarded-Proto https if https
    mode http
    default_backend sok-front-end

backend sok-front-end
    mode http
    balance roundrobin
    server srv3 172.17.0.2:8000
Now we need to stop current docker container as it only allow port 80 to be shared.
docker container stop haproxy1
Lets create a new haproxy container with port 443 forwaded.
docker run -d -p 80:80 -p 443:443 --name haproxy2 -v /home/ubuntu/haproxy:/usr/local/etc/haproxy:ro haproxy:1.7
See Haproxy
-
PHP script to monitor exim mail queue
When you run exim mail server, it is good to keep an eye on number of emails in mail queue. here is a PHP script that will check number of emails in queue, if it exceed pre-set number, it will email you.
Create file
mkdir /usr/serverok/
vi /usr/serverok/mail_q_monitor.php
Add following content.
 $alertOn) {
    $hostname = exec('/bin/hostname');
    $subject = 'Mail queue alert on ' . $hostname;
    $mail_text = 'Mail queue on server ' . $hostname . ' have ' . $num_mails . ' mails';
    mail($adminEmail, $subject, $mail_text);
}
In this case, if mails in queue exceeded 100, you get email.
$alertOn = 100;
You can change 100 to whatever number you need.
$adminEmail = "you@your-domain.com";
Replace you@your-domain.com with your email address.
Set script to run every 10 minutes using cronjob
*/10 * * * * /usr/local/bin/php /usr/serverok/mail_q_monitor.php >/dev/null 2>&1
-
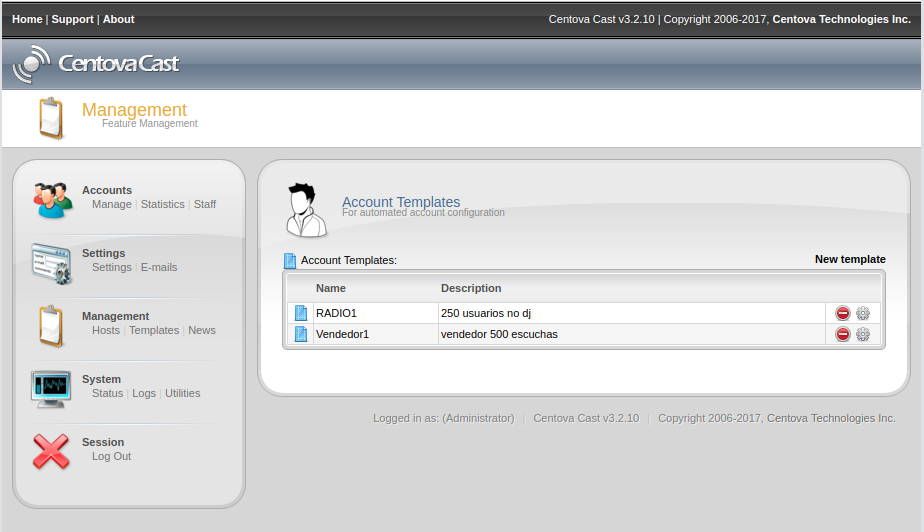
Install SSL on Centova Cast
Edit file
vi /usr/local/centovacast/etc/cc-panel.conf
Find
listen 2199 default ssl;
Add below
listen 443 ssl;
listen 80;
Restart Centova Cast
/usr/local/centovacast/centovacast restart
At this point, you will be able to access Centova Cast on port 80 at
http://YOUR_SERVER_IP/login/index.php
To install LetsEncrypt Free SSL certificate, run
/usr/local/centovacast/sbin/setssl letsencrypt YOUR-DOMAIN.EXTN
Restart Centova Cast
/usr/local/centovacast/centovacast restart
Now you will be able to access Centova Cast using HTTPS.
-
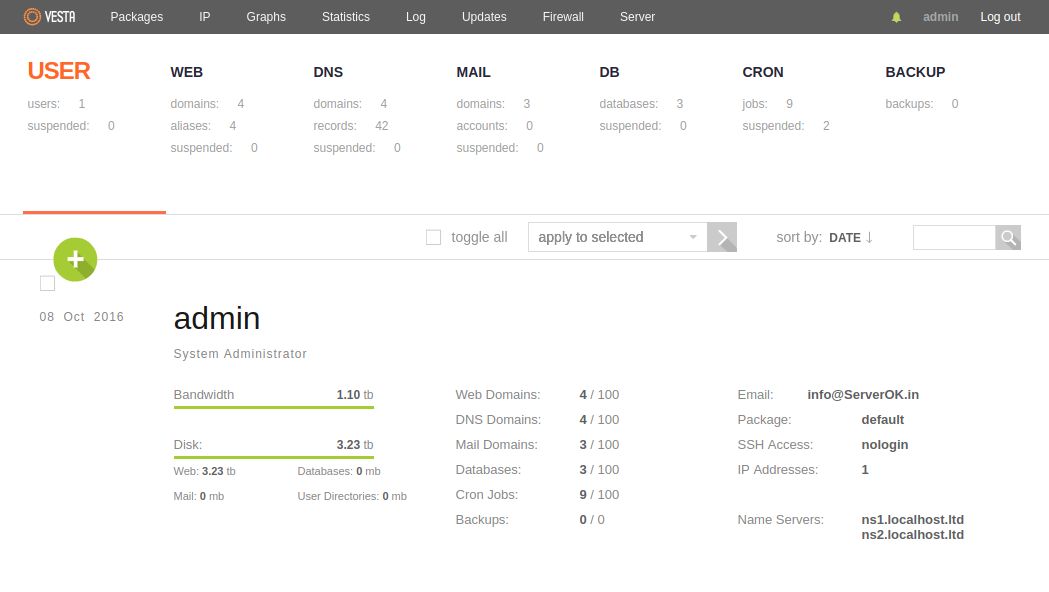
VestaCP Installer Compromised
VestaCP Free Hosting control panel compromised again. Hackers where able to get access to VestaCP infrastcuture server, allowing them to modify installation script, so it sent root password of servers to hacker.
Here is post from VestaCP on their forum
I’m sorry about inactivity in this post from our side. It was a complex issue and we were not sure we understand the whole picture. Leak in the installer is just one piece of the puzzle. All pieces together lead to cumulative effect.
The issue number one
Our infrastructure server was hacked. Presumably using API bug in the release 0.9.8-20. The hackers then changed all installation scripts to log admin password and ip as addition to the distro name we used to collect stats.
Please check if your server IP here
http://vestacp.com/test/?ip=127.0.0.1
If it’s there you should change admin passwords as soon as possible. Also please make sure there is no /usr/bin/dhcprenew binary installed on your server. This binary is some sort of trojan that is able to launch remote DDoS attack or open shell to your server
For more information, see
https://forum.vestacp.com/viewtopic.php?f=10&t=17641&start=180#p73907
-
Change PHP version for a site in Plesk Command line
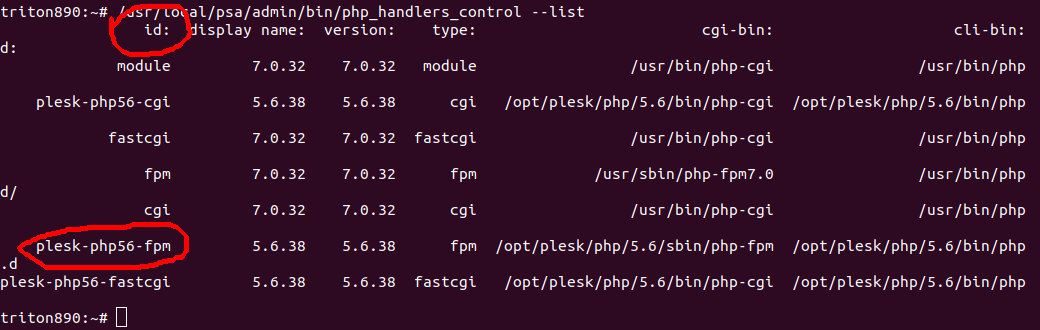
To change PHP version for a site, first find available PHP handlers, this can be done with command
/usr/local/psa/admin/bin/php_handlers_control --list
You need to find the id for the PHP handler. For PHP 5.6 fpm, it is “plesk-php56-fpm”.
To change a sites PHP version to PHP 5.6, run
plesk bin domain -u DOMAIN_NAME_HERE -php_handler_id plesk-php56-fpm
Example

-
error: ‘x264_bit_depth’ undeclared (first use in this function)
When installing ffmpeg, i get error
CC	libavcodec/libvorbisenc.o
CC	libavcodec/libx264.o
libavcodec/libx264.c: In function ‘X264_frame’:
libavcodec/libx264.c:282:9: error: ‘x264_bit_depth’ undeclared (first use in this function)
     if (x264_bit_depth > 8)
         ^
libavcodec/libx264.c:282:9: note: each undeclared identifier is reported only once for each function it appears in
libavcodec/libx264.c: In function ‘X264_init_static’:
libavcodec/libx264.c:892:9: error: ‘x264_bit_depth’ undeclared (first use in this function)
     if (x264_bit_depth == 8)
         ^
make: *** [libavcodec/libx264.o] Error 1
This is due to incompatability with ffmpeg and x264.
What you can do is try another version of x264. You will be able to download older version of x264 from
ftp://ftp.videolan.org/pub/x264/snapshots
On 2018-08-14, it failed with latest stable snapshot. So i tried 14 days old stable snapshot
cd /usr/local/src/
wget ftp://ftp.videolan.org/pub/x264/snapshots/x264-snapshot-20180730-2245-stable.tar.bz2
tar xvf x264-snapshot-20180730-2245-stable.tar.bz2
cd /usr/local/src/x264-snapshot-20180730-2245-stable
make clean && make distclean
./configure --prefix=/usr --enable-shared
make && make install
ldconfig
This worked with ffmpeg.
Solution here is to try latet version first, if it did not work, try older version, say try 1 month old version, if that did not work, go back 2 months, see if that works.
Now install ffmpeg with
cd /usr/local/src/
wget https://github.com/FFmpeg/FFmpeg/archive/n3.3.5.tar.gz
tar zxf n3.3.5.tar.gz
cd /usr/local/src/FFmpeg-n3.3.5/
ldconfig
make clean && make distclean
./configure --prefix=/usr --enable-shared --enable-libxvid --enable-libvorbis --enable-libtheora --enable-libmp3lame --enable-gpl --enable-libfdk-aac --enable-nonfree --enable-libx264 --enable-libfreetype
make && make install && ldconfig
-
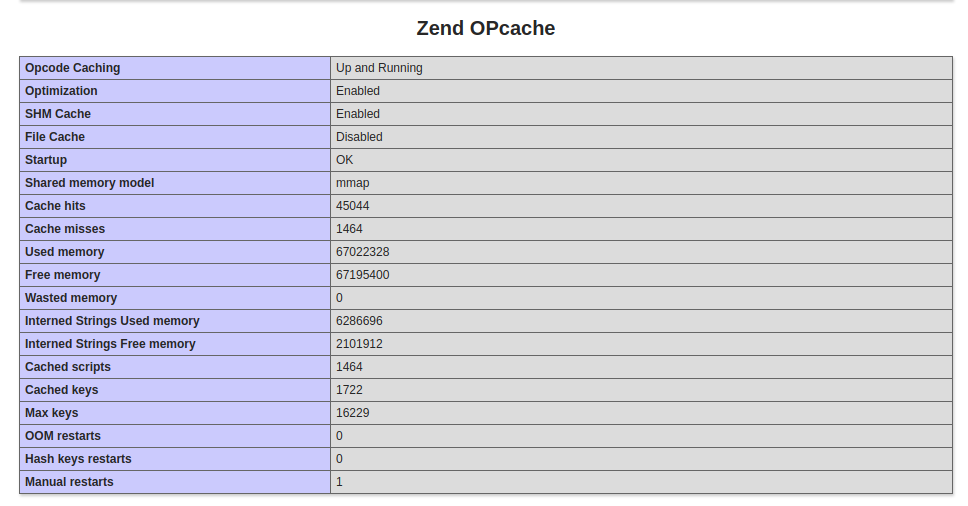
Enable Zend OPcache in PHP
To enable Zend OPCache in PHP, edit php.ini add following to end of the file
zend_extension=opcache.so
Now you may need to adjust some settings, in php.ini uncomment following, change values as needed.
opcache.enable=1
opcache.enable_cli=1
opcache.memory_consumption=128
opcache.max_accelerated_files=10000
opcache.validate_timestamps=1
opcache.revalidate_freq=10
Verify it with
[root@vps154294 php]# php -m | grep  Zend
Zend OPcache
[Zend Modules]
Zend OPcache
[root@vps154294 php]#
Restart web server. If you using php-fpm or fcgi, you need to restart the process.
phpinfo() will show
-
Install Redis PHP Module from source
To install Redis PHP module from source, run
cd /usr/local/src
git clone https://github.com/phpredis/phpredis.git
cd /usr/local/src/phpredis
/usr/serverok/php-7.1.12/bin/phpize
./configure --with-php-config=/usr/serverok/php-7.1.12/bin/php-config
make && make install
Once installed, edit your php.ini file, add following below extension_dir line
extension=redis.so
Verify redis is installed with php -m
[root@vps154294 ~]# /usr/serverok/php-7.1.12/bin/php -m | grep redis
redis
[root@vps154294 ~]#
Now restart web server
service httpd restart
phpinfo() will show following
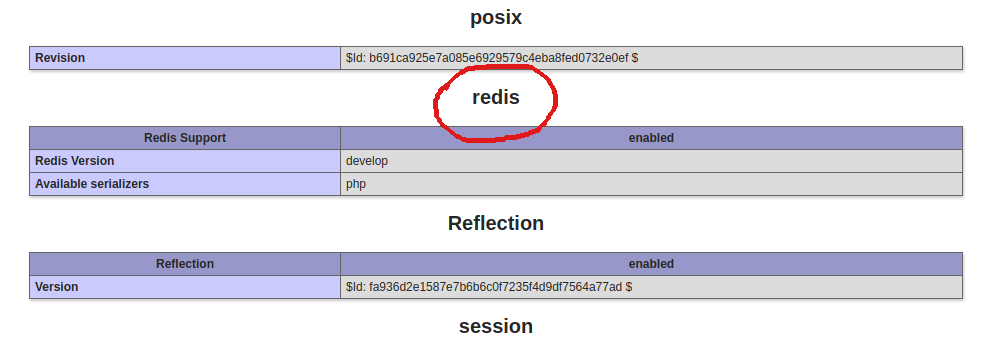
-
Reset osticket admin password
Reset password for admin, can be used for any user, replace admin with username.
UPDATE `ost_staff` SET `passwd` = MD5( 'newpassword' ) WHERE `username` = 'admin';
See osticket