AWS Elastic IP is a static, public IPv4 address that you can allocate and associate with your AWS resources, such as Amazon EC2 instances and Network Interface. It provides a persistent public IP address that remains associated with your resources even if they are stopped or restarted.
Transferring an AWS Elastic IP address to another AWS account can be useful in scenarios where you want to migrate resources between accounts or share resources with another account.
Enable Transfer (on source AWS Account)
- Log in to the AWS Management Console using the credentials of the source AWS account.
- Navigate to the EC2 Dashboard.
- In the left-hand menu, click on “Elastic IPs” under the “Network & Security” section.
- Select the Elastic IP address that you want to migrate to the other account.
- Click on the “Actions” button at the top of the Elastic IPs table.
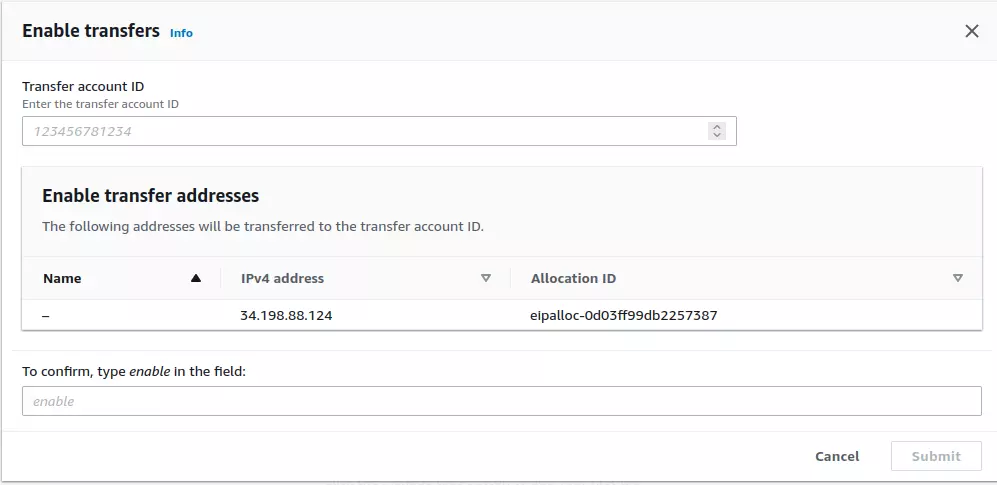
- Choose “Enbale transfers” from the dropdown menu.
- It will show a popup page, where you need to enter destination AWS Account ID and confirm by typing enable. Click submit.
Accept Transfer on Destination AWS Account
- Log in to the AWS Management Console using the credentials of the destination AWS account.
- Navigate to the EC2 Dashboard.
- In the left-hand menu, click on “Elastic IPs” under the “Network & Security” section.
- Click on the “Actions” button at the top of the Elastic IP addresses page.
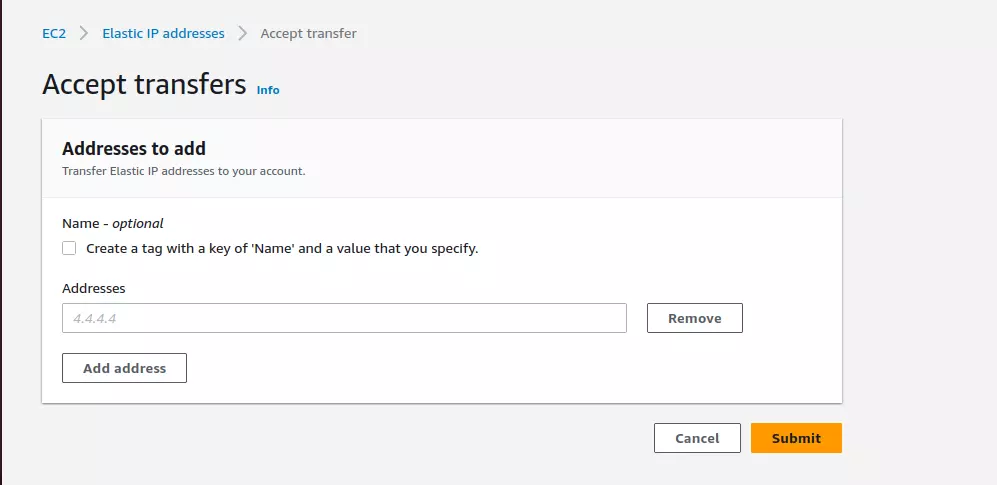
- Scroll down and select “Accept transfers”.
- In the popup, enter the IP address you need to accept, click “Submit” button, EIP will be transferred instantly.
Back to AWS
Leave a Reply