Install Transmission on CentOS
Install Transmission torrent client on Ubuntu Server
See torrent
transmission is a torrent client. This come with a web GUI, that make it easy to installed on a remote server with no X-Windows. To install transmission on CentOS server, run
yum install -y transmission-daemon transmission-cli
To access transmission web GUI, you need to white list your IP address. To do this, first stop tranmission
service transmission-daemon stop
Edit file
vi /var/lib/transmission/.config/transmission/settings.json
Find
"rpc-whitelist": "127.0.0.1",
Replace with
"rpc-whitelist": "127.0.0.1,YOUR_IP_ADDR_HERE",
YOUR_IP_ADDR_HERE – replace with your actual IP address.
Start transmission
service transmission-daemon start
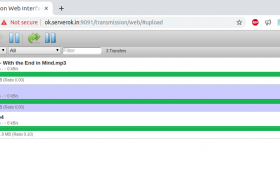
You will be able to access web GUI at
http://YOUR_SERVER_IP:9091
Downloaded files are stored in folder
/var/lib/transmission/Downloads
GIT is popular version control software, this work like a time machine. You can easily get older versions of code. Each changes are stored as commit, so it work like a time machine for source code.
If you put your .git folder in a publically accessable folder, others will be able to access your source code. It is better put this folder outside of DocumentRoot folder.
If your .git folder is on public folder, then use following .htaccess code to block access to it.
RedirectMatch 404 /\.git
Create an .htaccess file inside .git folder with content
deny from all
To redirect old site to new url using .htacces, use following
RewriteCond %{HTTP_HOST} ^old-url.com$ [OR]
RewriteCond %{HTTP_HOST} ^www.old-url.com$
RewriteRule (.*)$ http://www.new-url.com/$1 [R=301,L]
Redirect with SSL verification
RewriteEngine On
RewriteRule ^(.*) https://new-url.com%{REQUEST_URI} [R=301,NC]
RewriteRule "(^|/)\.(?!well-known/)" - [F]
See htaccess
sleep-monitor system is about to suspend
See Remote Desktop
To list kernal modules, use
lsmod
Example
boby@sok-01:~$ lsmod | grep rtl
rtl8xxxu              122880  0
mac80211              778240  2 ath9k_htc,rtl8xxxu
boby@sok-01:~$
mitmproxy is a man in the middle proxy server for debugging.
To install mitmproxy on Ubuntu, run
sudo apt install mitmproxy -y
On Ubuntu 18.04, this is broken. To insall i created a virtualenv
mkdir -p  ~/www/mitmproxy
cd ~/www/mitmproxy
virtualenv --python=/usr/bin/python3 venv
source venv/bin/activate
Install mitmproxy inside virtualenv with
pip install mitmproxy
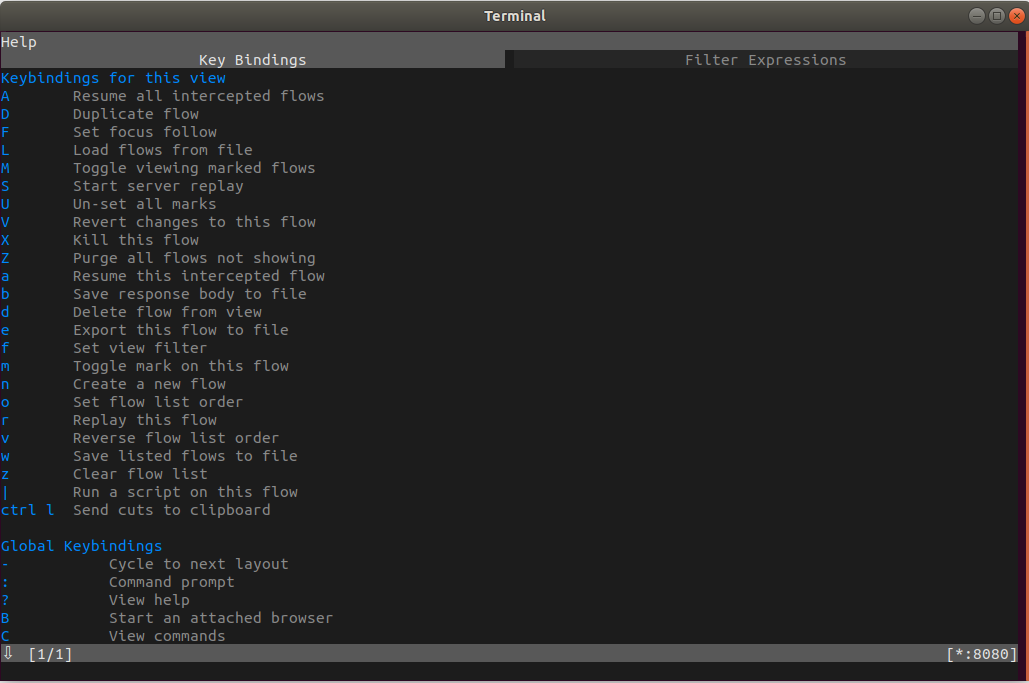
To start, run
mithproxy
This will listen proxy on port 8080, you can verify with command
netstat -lntp
If you get error like
boby@sok-01:~$ /home/boby/www/mitmproxy/venv/bin/mitmproxy
Error: mitmproxy requires a UTF console environment.
Set your LANG environment variable to something like en_US.UTF-8
boby@sok-01:~$
Run
export LANG=en_US.UTF-8
mitmproxy
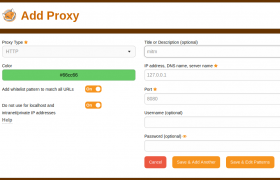
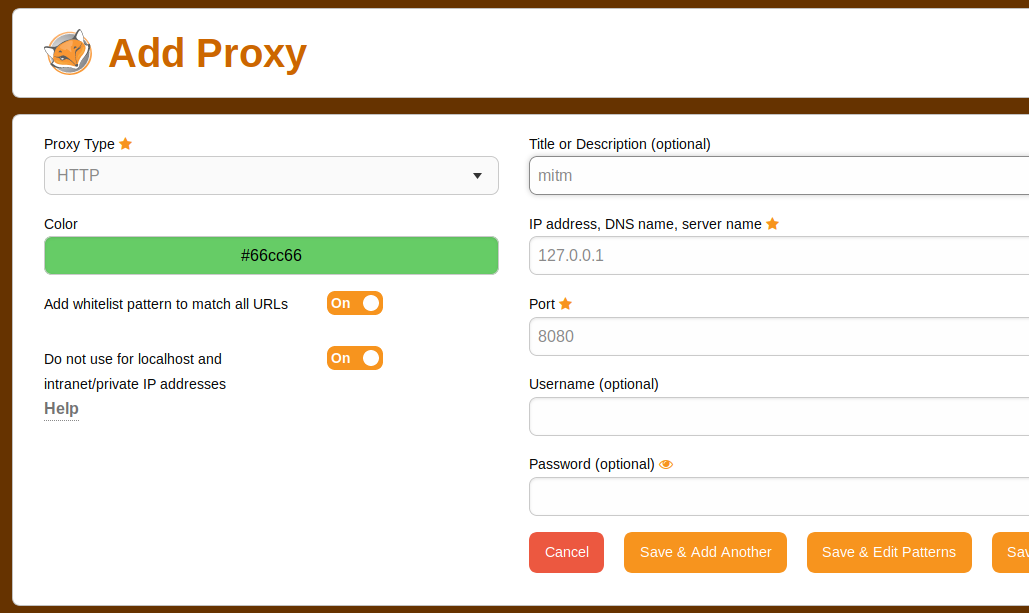
To configure in browser, you can use it as HTTP proxy. Here is how i configure it on Firefox FoxyProxy.
To log commands executed by users on Linux shell, edit file
vi /etc/bash.bashrc
Add
export PROMPT_COMMAND='RETRN_VAL=$?;logger -p local6.debug "$(whoami) [$$]: $(history 1 | sed "s/^[ ]*[0-9]\+[ ]*//" ) [$RETRN_VAL]"'
Create file
vi /etc/rsyslog.d/bash.conf
Add
local6.* /var/log/commands.log
Restart rsyslog
systemctl restart rsyslog
Now log off and login, you will be able to see all commends executed by users on bash shell in file /var/log/commands.log
edit
vi /etc/logrotate.d/rsyslog
Find
/var/log/kern.log
Add below
/var/log/commands.log
To upgrade Debian 9 to Debian 10, first make sure your system is up-to-date.
apt update && apt upgrade -y
Edit file /etc/apt/sources.list. Find all occurrences of “stretch” and replace it with “buster”.
sed -i 's/stretch/buster/g' /etc/apt/sources.listOr use following
deb http://cloudfront.debian.net/debian/ buster main non-free contrib
deb-src http://cloudfront.debian.net/debian/ buster main non-free contrib

deb http://security.debian.org/debian-security buster/updates main contrib non-free
deb-src http://security.debian.org/debian-security buster/updates main contrib non-free
Now update the system
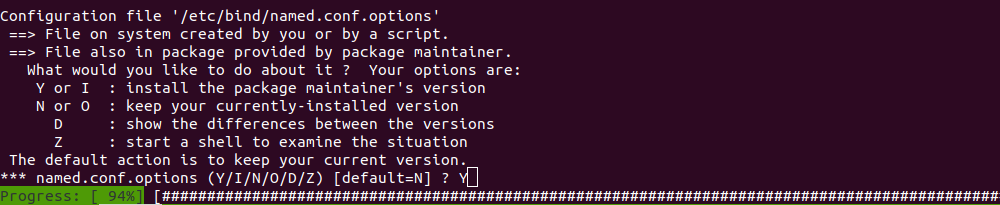
apt update && apt upgrade -yrun dist-upgrade
apt dist-upgrade -yDuring the upgrade, you will be asked to replace some of the configuration files. If this is a fresh server, you can always replace these files with a newer version. If your server has these files modified, you should be careful as replacing these files will lose the changes you made.
Reboot the server.
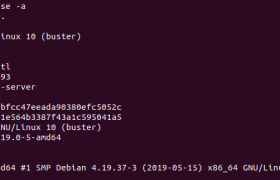
rebootAfter reboot, you can verify the server is running Debian 10 with commands
lsb_release -a
hostnamectl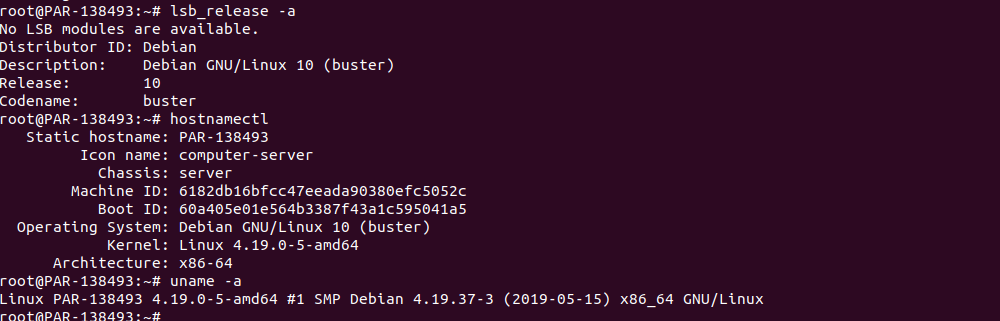
To install zip on Ubuntu/Debian, run
apt install zip unzip -y
To unzip a file, run
unzip FILE_NAME.zip
To unzip to specific directory, run
unzip FILE_NAME.zip -d DIR_NAME
To create a ZIP file, run
zip -r FILE.zip FILE_OR_DIR
Example
root@server:~# zip -r 1.zip organicinstinct.sql
  adding: organicinstinct.sql (deflated 85%)
root@server:~#
