To install sourceguardian PHP loaders in Cpanel server, run
yum install -y ea-php56-php-sourceguardian.x86_64 ea-php70-php-sourceguardian.x86_64 ea-php71-php-sourceguardian.x86_64 ea-php72-php-sourceguardian.x86_64
To install sourceguardian PHP loaders in Cpanel server, run
yum install -y ea-php56-php-sourceguardian.x86_64 ea-php70-php-sourceguardian.x86_64 ea-php71-php-sourceguardian.x86_64 ea-php72-php-sourceguardian.x86_64
Cpanel will provide Free SSL for the server hostname if the server hostname resolves to server’s main IP address and the server has a valid cpanel license.
Cpanel will check for hostname SSL when upcp runs. This is run once every day.
You can manually run an SSL check by running
/usr/local/cpanel/bin/checkallsslcerts
If you have a paid SSL, you can install it in
WHM > Service Configuration > Manage Service SSL Certificates
If you see previously used hostnames show up in the SSL certificate, you can run
mv /var/cpanel/hostname_history.json /var/cpanel/hostname_history.json.old
To create new hosting account in Cpanel/WHM, login to WHM at
http://yourserverip/whm
Now to go
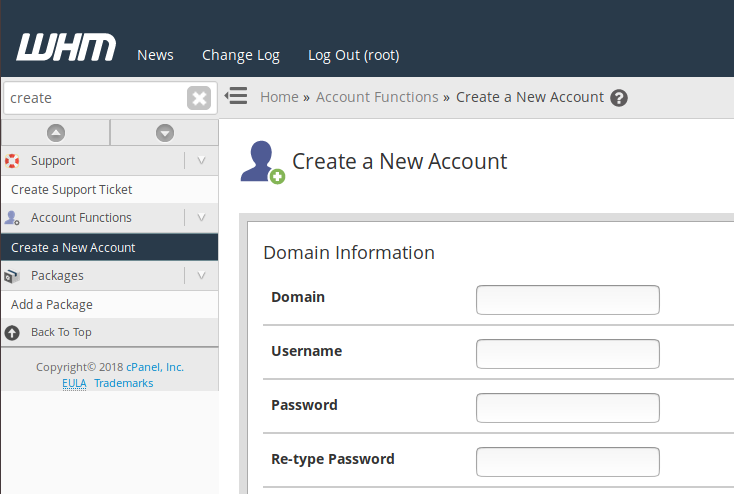
Home » Account Functions » Create a New Account
You can also use the search box on left top side of WHM. Search for “create”, then click on “Create a New Account” link.
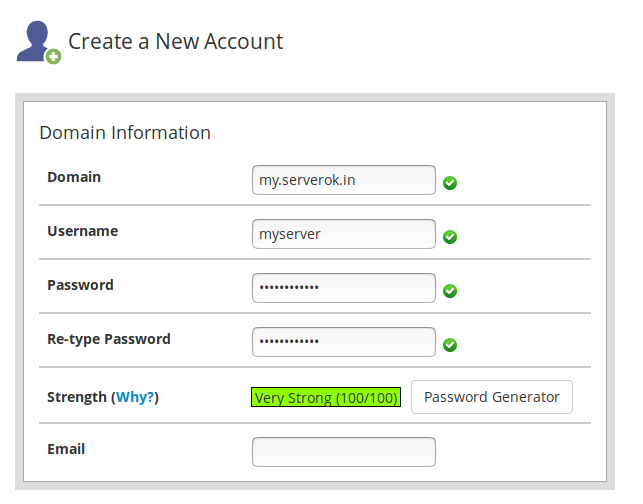
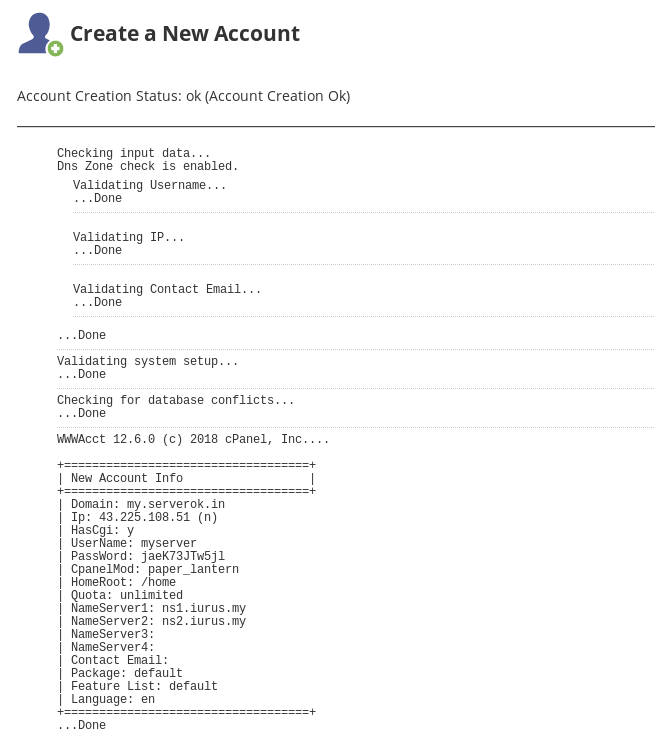
On “Create a New Account” page, you need to enter your domain name. User name will be auto generated. Click “Password Generator” to generate secure password. Make sure you copy this password as you need it later for login to Cpanel/FTP.
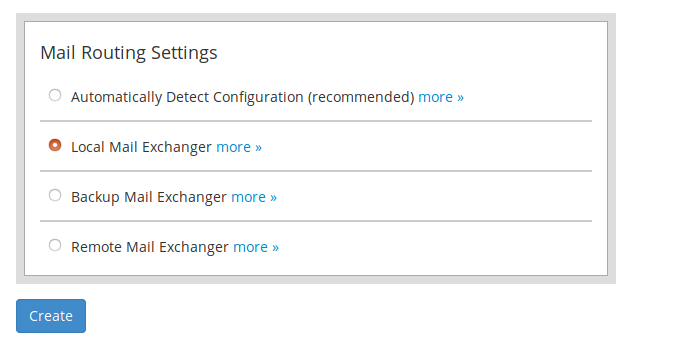
Scroll down and click “Create button”.
Now your hosting account is ready.
You will be able to login to Cpanel at
http;//yoru-server-ip/cpanel
Change PHP version
To change PHP version for a web site, login to cpanel at
http;//yoru-server-ip/cpanel
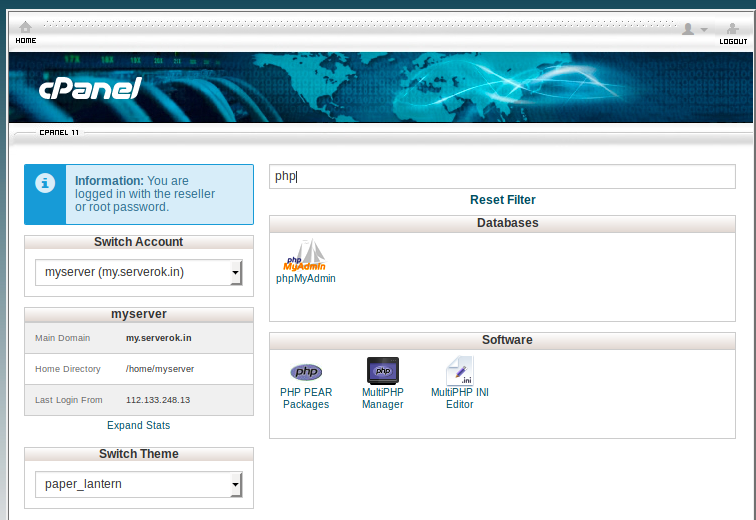
Once logged in search “php”
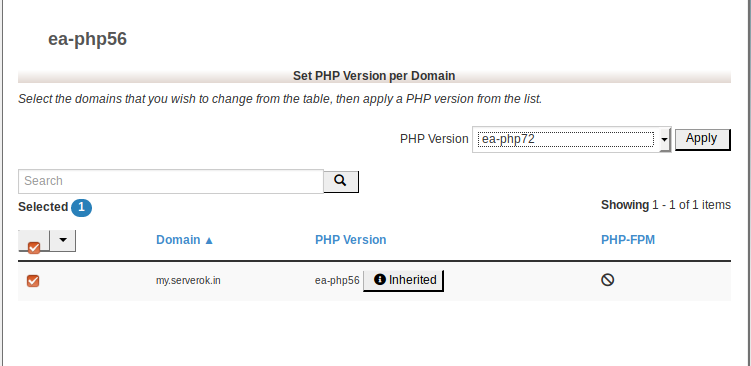
Click on “MultiPHP Manager” button. On next page, you will be able to change PHP version for the web site.
On this page, click the checkbox right side of your domain name. From “PHP Version” drop down, select the PHP version you need. Click Apply. Now your site have selected PHP version.
On an Amazon EC2 server running Cpanel, i had to restore from Snapshot as some data was missing. Once restored, i changed Elastic IP to new EC2 instance. But sites did not work. This is because Internal IP of EC2 instance got changed when you restore from snapshot.
In httpd.conf VirtualHosts where using old internal IP 10.0.0.200. But this IP was no longer available in the server, new Internal IP was 10.0.0.204.
rm -f /var/cpanel/cpnat /scripts/build_cpnat
Check if sites are still using old internal IP address
grep -RH "ip: 10.0.0.200" /var/cpanel/userdata/*
To change IP, you need to do the following
WHM >> Home >> Multi Account Functions >> Change Multiple Sites’ IP Addresses
1. Select all the accounts showing 10.0.0.200 for the current ip
2. Select “Change IPs of Selected Accounts”
3. In the New Address dropdown, you would select the External IP for all the accounts
4. Select Change IPs
In Change Multiple Sites’ IP Addresses, drop down listed 52.4.207.175 (Elastic IP Address) and 10.0.0.204. I selected 52.4.207.175 for all sites and is working fine now.
Now rebuild httpd.conf file with
/scripts/rebuildhttpdconf
When hosting Cpanel server behind NAT like Amazon AWS, Google Cloud etc.. where you have internal IP and external IP, you need to enable NAT so cpanel will map external IP to internal IP.
First make sure external IP is not added to your server. Now run
rm -f /var/cpanel/cpnat /scripts/build_cpnat
On AWS, this generate a file like
[root@ip-172-31-39-115 ~]# cat /var/cpanel/cpnat 172.31.39.115 18.218.172.134 [root@ip-172-31-39-115 ~]#
Here 172.31.39.115 = internal IP. 18.218.172.134 = external IP.
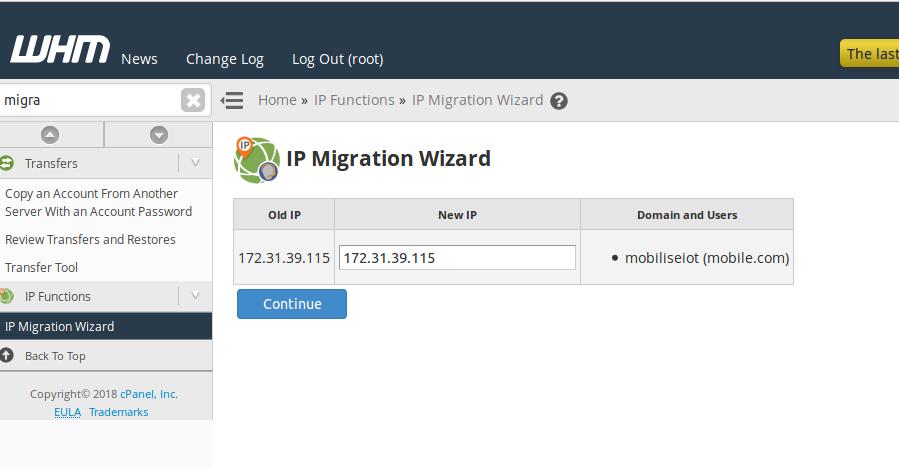
Now login to WHM, go to Home > IP Functions > IP Migration Wizard
Change your sites IP address with INTERNAL IP address.
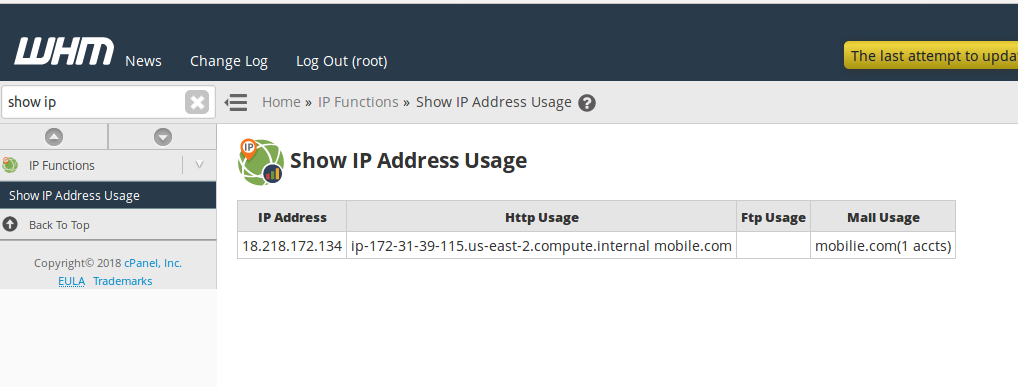
Show IP Address Usage will show your external IP address
Home > Server Configuration > Basic WebHost Manager® Setup > Basic Config > The IPv4 address (only one address) to use to set up shared IPv4 virtual hosts. will show your external IP address.
See Cpanel Server, Amazon Ec2 Fixing Cpanel IP after restore from snapshot
One of the customer email account as getting too much incoming emails from [email protected].
First i tried to block the sender IP, but they are using too many IP.
To stop this incoming email, i edited
vi /etc/exim.conf
Find
acl_smtp_rcpt
Add below
deny message = SPF: $sender_host_address is not allowed to send mail from $sender_address_domain spf = fail
Restart exim
service exim restart
Now watch the mail log with
tail -f /var/log/exim_mainlog | grep "is not allowed to send mail from"
DKIM (DomainKeys Identified Mail) is a way to digitally sign your out going emails. This help prevent spam.
On Cpanel server, you can install for a site, run
/usr/local/cpanel/bin/dkim_keys_install CPANEL_USERNAME
If you want to enable DKIM on all sites on a cpanel server, run following as user root.
wget https://raw.githubusercontent.com/serverok/server-setup/master/cpanel/dkim-spf-all.sh bash dkim-spf-all.sh
This will also enable SPF.
To install Cpanel DNS Only sever, run
cd /home curl -o latest-dnsonly -L https://securedownloads.cpanel.net/latest-dnsonly sh latest-dnsonly
if it ask you to remove network manager, run
yum remove NetworkManager
To get WHM access from SSH, run
whmapi1 create_user_session user=root service=whostmgrd locale=en
This is useful when you have SSH key access to server, but no root password.
Open the URL you get in terminal in a browser, you have WHM root access with out password.
For Cpanel, use
whmapi1 create_user_session user=CPANEL-USERNAME service=cpaneld locale=en
To install Docker on Ubuntu 18.04, run
apt install docker.io
On 2018-02-28, the repository have docker version 17.03-2-ce
root@ok-vm:~# docker version Client: Version: 17.03.2-ce API version: 1.27 Go version: go1.9.4 Git commit: f5ec1e2 Built: Tue Feb 20 21:53:05 2018 OS/Arch: linux/amd64 Server: Version: 17.03.2-ce API version: 1.27 (minimum version 1.12) Go version: go1.9.4 Git commit: f5ec1e2 Built: Tue Feb 20 21:53:05 2018 OS/Arch: linux/amd64 Experimental: false root@ok-vm:~#
Add your user in docker group
sudo usermod -aG docker YOUR_USER_NAME
To restart php-fpm on Cpanel server, run
/scripts/restartsrv_apache_php_fpm
For Cpanel php-fpm, run
/scripts/restartsrv_cpanel_php_fpm
php-fpm config stored in /opt/cpanel/ea-php70/root/etc/php-fpm.conf, pool config available in folder
/opt/cpanel/ea-php70/root/etc/php-fpm.d/
php70 is for PHP version 7, replace it with actual PHP version you are using.
You may need to restart SSH on Cpanel server with default settings to get SSH access. This may needed when you work on a server with unknown SSH port or when SSH service on the server is failed/limited for some reason.
To fix SSH, login to WHM, then access following URL
/scripts2/doautofixer?autofix=safesshrestart
URL will look like
https://HOST:2087/cpsess1142682886/scripts2/doautofixer?autofix=safesshrestart