Category: Cpanel

  • Reinstall EasyApache4

    To reinstall EasyApache 4, run

    yum reinstall ea-*
    
  • Analytics

    Matomo is an alternative to Google Analytics.

    https://matomo.org

    http://www.openwebanalytics.com

    https://plausible.io/ – Open source github

  • Enable HTTP/2 in Cpanel Server

    Enable HTTP/2 in Cpanel Server

    HTTP/2 only works with mod_worker or mod_event. if you use another mpm module you need to switch to worker or event.

    To install http2, login to WHM as user root. Go to

    WHM > EasyApache 4 >  Currently Installed Packages > Customize

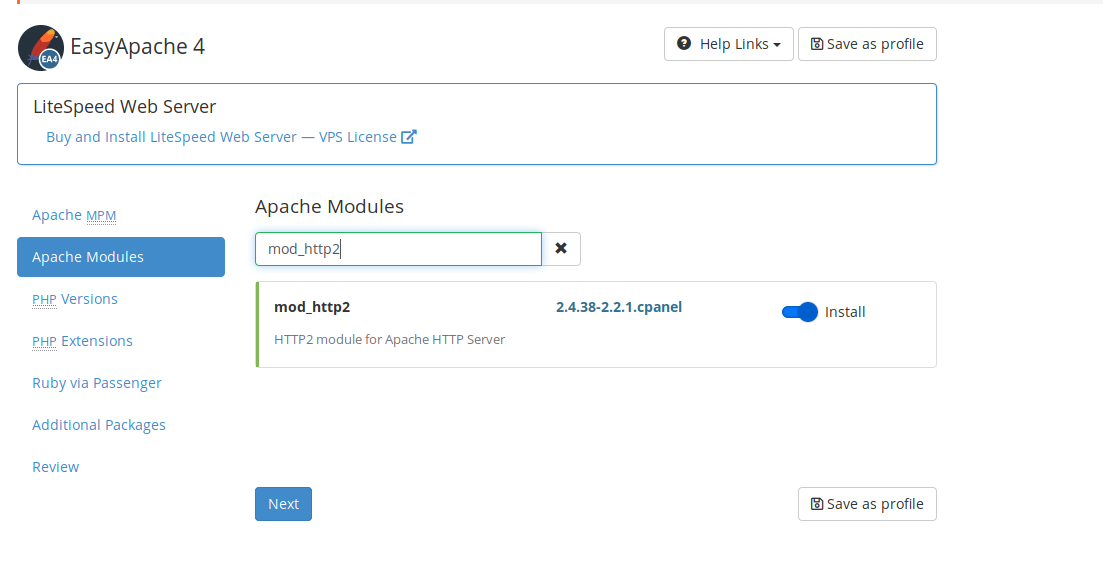
    Now under Apache Modules, search for “http2”. Use the selector on right side to install it. Click “Next” until it it reach provision page. Click “Provision”.

    Cpanel enable http2

    Configuration for http2 located at

    [root@ip-172-31-47-93 ~]# cat /etc/apache2/conf.d/http2.conf 
    
        LogLevel http2:info
        Protocols h2 h2c http/1.1
    
    [root@ip-172-31-47-93 ~]# 

    You can verify HTTP2 work for your site at

    https://tools.keycdn.com/http2-test

    Most browsers only support HTTP2 over SSL, so make sure you have SSL (https://) enabled.

    See Cpanel Server http2

  • phpMyAdmin missing from WHM after upgrade

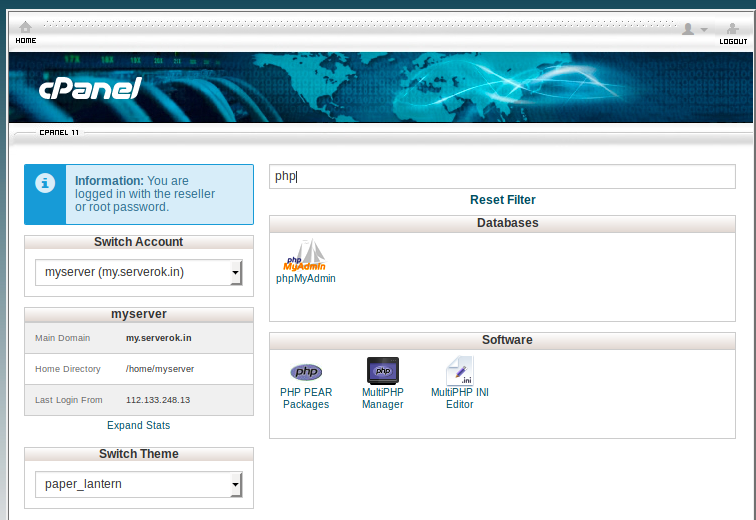
    On WHM, phpMyAdmin was missing from left menu after Cpanel upgrade.

    Verify cpanel-phpmyadmin package insalled on the server.

    [root@server82 ~]# rpm -qa | grep phpmyadmin
    cpanel-phpmyadmin-4.8.3-6.cp1176.noarch
    [root@server82 ~]# 
    

    Since phpmyadmin package was installed, clear WHM cache with commands

    /usr/local/cpanel/bin/refresh_plugins_cache
    /scripts/rebuild_whm_chrome
    

    After clearning browser cahce, phpMyAdmin started showing in WHM.

  • Imunify Anti Virus

    Imunify is an anti-malware software for webservers. It has 3 versions. ImunifyAV, ImunifyAV+, and Imunify360. ImunifyAV only supports manual scanning. ImunifyAV+ supports Scheduled scanning and One-click malware cleanup. Imunify360 has more protection, it supports scheduled scanning, a built-in firewall, and web application firewall (WAF), that protect against application-level attacks, WordPress brute force attacks, kernel update without reboot using KernelCare and many more.

    For PAID version, see Imunify360

    Feature ImunifyAV ImunifyAV+ Imunify360
    Scheduled scanning No Yes Yes
    Malware cleanup No Yes Yes
    Proactive Defense No No Yes
    Stop bad bots and SPAM comments No No Yes
    Web Application Firewall No No Yes

    Install ImunifyAV

    Uninstall ImunifyAV

    See cloudlinux

  • CloudLinux EasyApache 4 Profile Missing

    On CloudLinux server, EasyApache profile was missing.

    WHM shows following error message

    Please run “yum install ea-profiles-cpanel” to install the default cPanel profiles.
    

    Re installing ea-profiles-cpanel did not help.

    The issue is resolved by running

    # cd ~; wget https://repo.cloudlinux.com/cloudlinux/sources/cloudlinux_ea3_to_ea4; sh cloudlinux_ea3_to_ea4 --convert
    

    See Cpanel

  • Install LiteSpeed Web Server on Cpanel Server

    To install LiteSpeed Web Server on Cpanel Server, run

    wget https://www.litespeedtech.com/packages/cpanel/lsws_whm_autoinstaller.sh
    chmod a+x lsws_whm_autoinstaller.sh
    ./lsws_whm_autoinstaller.sh TRIAL
    

    This will instal 15 day TRAIl version of the LiteSpeed Web Server. Once you purchased license, you will be able to update license key in WHM.

    LiteSpeed Web Server installed on folder

    /usr/src/lsws
    

    To restart LiteSpeed, run

    systemctl restart lsws
    

    Once LiteSpeed installed, you need to switch to LiteSpeed by running

    /usr/local/lsws/admin/misc/cp_switch_ws.sh lsws
    

    You can also do this in WHM.

    You can login to web interface at

    https://IPADDR:7080/login.php
    

    You will need admin password to login here, to set admin password, run

    /usr/local/lsws/admin/misc/admpass.sh
    

    See Litespeed Web Server

  • Enable CloudLinux PHP lsapi

    Enable CloudLinux PHP lsapi

    CloudLinux provides high performance PHP module lsapi. It is a replacement for suphp available on cpanel servers. lsapi module is a based on LiteSpeed Technologies API for PHP.

    To enable lsapi in CloudLinux Cpanel Server, go to

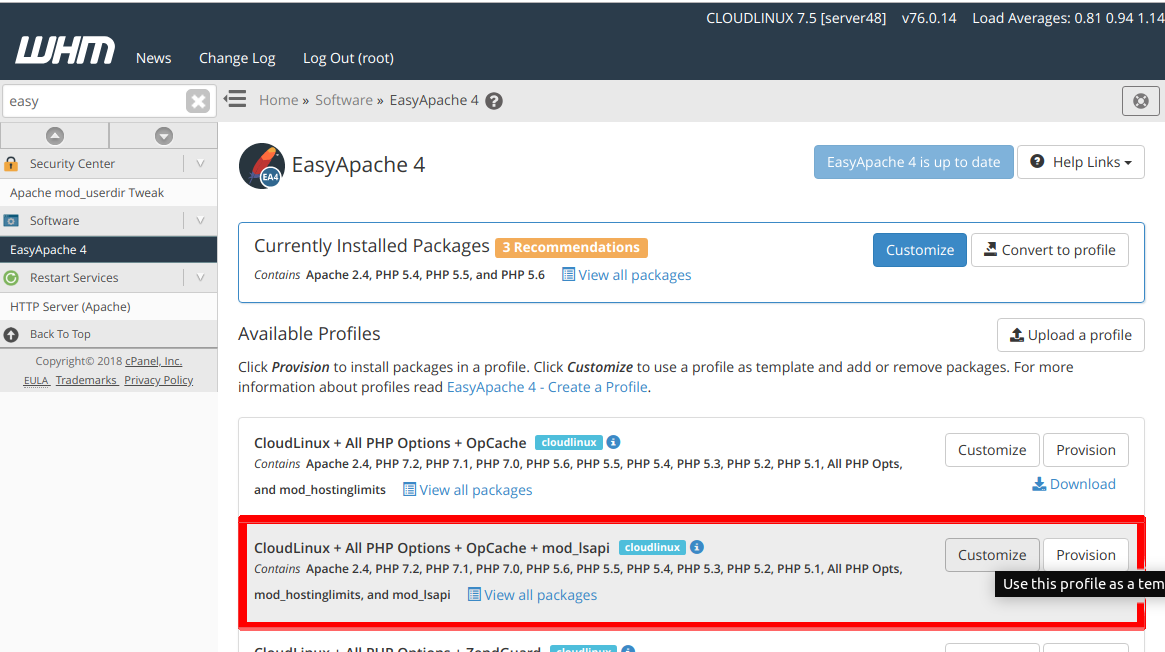
    WHM > EasyApache 4

    Provision profile

    CloudLinux + All PHP Options + OpCache + mod_lsapi
    CloudLinux lasapi php

    Click “Provision” and wait until the software is updated.

    Now you need to set lsapi as default PHP handler. To do this, go to

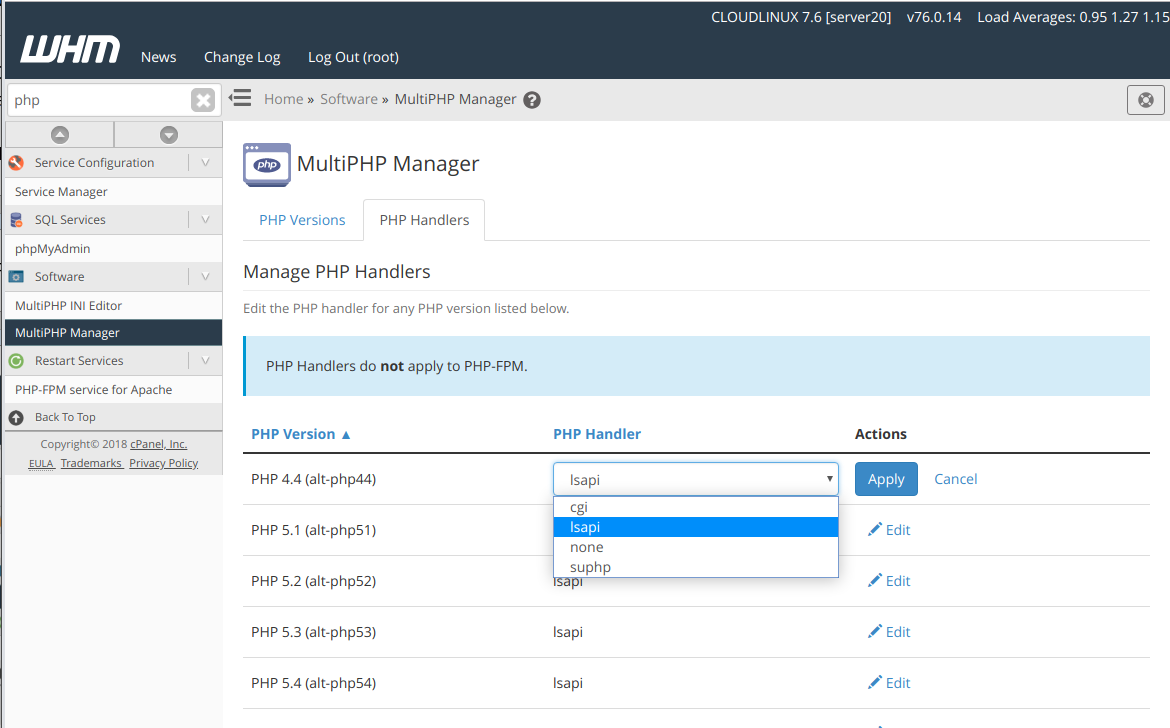
    WHM > MultiPHP Manager
    
    WHM Multi PHP Manager

    Click on “PHP Handlers”.

    On Next page, you can set handler for each PHP versions.

    You can set PHP handler to lsapi gloabally using following command

    /usr/bin/switch_mod_lsapi --enable-global
    

    Once you run it, all PHP version handlers will get chanegd to lsapi.

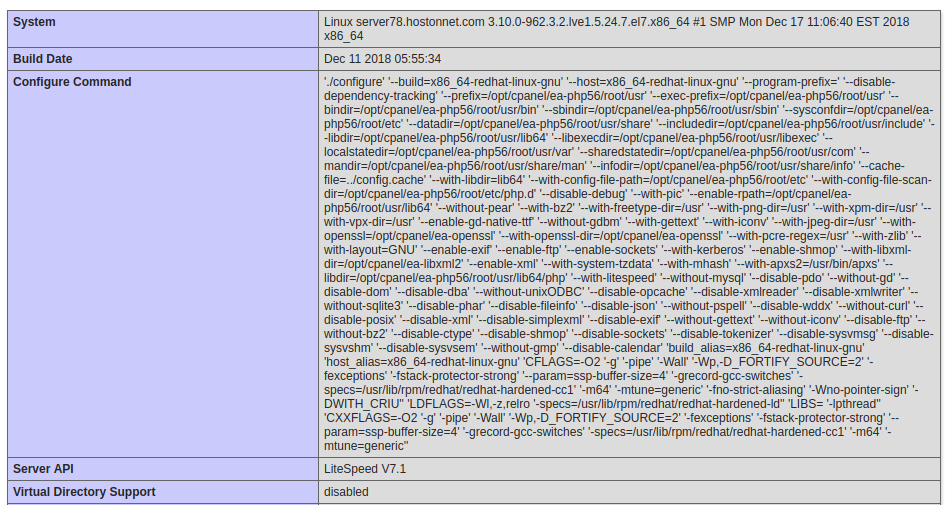
    If you check PHP info, you will see Server API listed as LiteSpeed.

    LiteSpeed Server API

    Back to lsapi

  • Cpanel Server Disk Partition

    Cpanel Server Disk Partition

    Many server providers setup server with smaller / partition like 20 GB. This is fine for normal Linux Servers, you will need more disk space on Cpanel Servers. Many use CloudLinux on Cpanel Servers, this will require you to have more free disk space on / partition.

    The partition i use for Cpanel Servers are

    /  = 122880 MB (120 GB)
    /home = rest of the disk
    swap = 8192 MB (8 GB)
    

    I don’t create seperate partition for /usr and /var as this will use up more space, may end up one of the partition get filled up while other have lot of free space. Having one partition for /, you don’t need to worry much.

    Another partition scheme is give everything to /

    /  = All of the disk.
    swap = 8 GB
    
  • Install mod_remoteip in Cpanel Server

    To install mod_remoteip in Cpanel Server, run

    yum install ea-apache24-mod_remoteip
    

    Edit file

    vi /etc/apache2/conf.modules.d/370_mod_remoteip.conf
    

    Add

    RemoteIPHeader X-Forwarded-For
    RemoteIPTrustedProxy 127.0.0.1 PROXY_SERVER_IP_HERE
    

    Restart Apache.

    systemctl restart apache2
    

    At this stage, PHP applications will show the proper visitor IP addresses.

    Apache access logs will still show the proxy server IP. To fix this, edit the Apache configuration file.

    Find

    LogFormat "%h %l %u %t \"%r\" %>s %b" common
    LogFormat "%h %l %u %t \"%r\" %>s %b \"%{Referer}i\" \"%{User-Agent}i\"" combined
    

    Replace with

    LogFormat "%a %l %u %t \"%r\" %>s %b" common
    LogFormat "%a %l %u %t \"%r\" %>s %b \"%{Referer}i\" \"%{User-Agent}i\"" combined
    

    Restart Apache

    systemctl restart apache2
    

    Cloudflare Restore Real IP Address in Cpanel Server

    Back to Cpanel Server

  • PHP mails not working on Cpanel Server

    On a cpanel server, PHP scripts can’t sent email. Incoming and outgoing emails for email users (mailbox) are working properly.

    To debug, loggged in to SSH as one of the cpanel user.

    su - CPANEL_USER
    

    If SSH access is not enabled, enable SSH in WHM.

    Once logged in, verify sendmail works.

    [sabtempco@buffalo ~]$ sendmail -f [email protected] [email protected]
    sendmail: Not running with correct effective GID.  Is sendmail binary setgid mailtrap?
    sendmail: Not running with correct effective GID.  Is sendmail binary setgid mailtrap?
    [sabtempco@buffalo ~]$ 
    

    I get above error message. This is because permission error with /usr/sbin/sendmail.

    To fix, run

    chmod +x /usr/sbin/sendmail
    chmod g+s /usr/sbin/sendmail
    chown root:mailtrap /usr/sbin/sendmail
    

    If you are using CloudLinux CageFS, try disable and see if it works. If it work after you disable CafeFS, run

    cagefsctl --force-update