Category: Linux

  • OpenLiteSpeed Binary Installation

    OpenLiteSpeed Binary Installation

    You can download latest version of OpenLiteSpeed web server from

    https://openlitespeed.org/downloads/

    There are 2 download links for each version of OpenLiteSpeed, here we use the binary download. To install verison 1.7.1, run

    cd /usr/local/src
    rm -rf openlitespeed*
    wget https://openlitespeed.org/packages/openlitespeed-1.7.16.tgz
    tar -zxvf openlitespeed-*.tgz
    cd openlitespeed
    ./install.sh
    

    To start/stop OpenLiteSpeed, use the following commands

    /usr/local/lsws/bin/lswsctrl start
    /usr/local/lsws/bin/lswsctrl stop
    /usr/local/lsws/bin/lswsctrl status
    

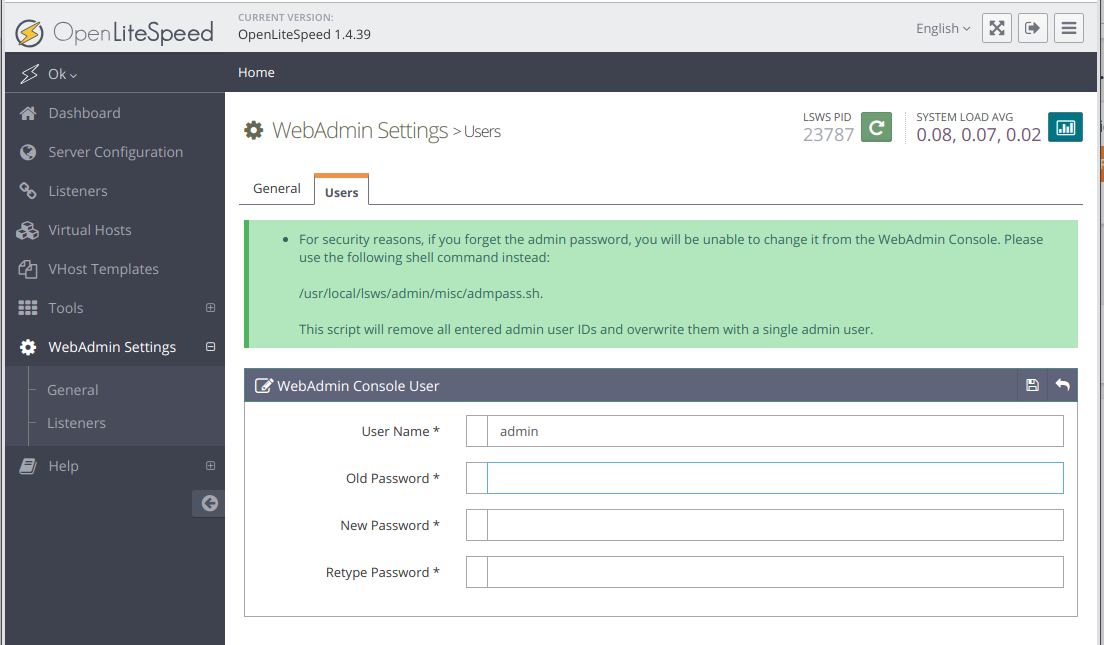
    OpenLiteSpeed control panel available at

    https://SERVER-IP-ADDR:7080/
    User = admin
    PW = 123456
    

    Default password for admin user is 123456.

  • cagefsctl

    Enable CafeFS for all cpanel users

    cagefsctl --enable-all
    
  • Upgrade EasyEngine

    Upgrade EasyEngine

    To upgrade EasyEngine, run

    ee cli update
    

    It is recommended you run this in tmux or screen to avoid disconnection while upgrading.

    EasyEngine upgrade

    Example

    root@ip-172-26-9-39:~# ee cli update
    Note: It is recommended to run EasyEngine update in tmux/screen. Update at times may take some time.
    To view progress, tail logs in a different window using `tail -f /opt/easyengine/logs/ee.log`.
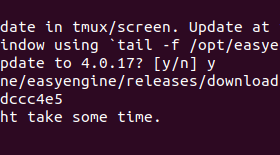
    You have version 4.0.14. Would you like to update to 4.0.17? [y/n] y
    Downloading from https://github.com/EasyEngine/easyengine/releases/download/v4.0.17/easyengine.phar...
    md5 hash verified: cb9041faecdae54e51aafdc9adccc4e5
    Updating EasyEngine to new version. This might take some time.
    New version works. Proceeding to replace.
    Success: Updated EE to 4.0.17.
    root@ip-172-26-9-39:~# 
    

    Related Posts

    EasyEngine

  • Uninstall Time Doctor on Ubuntu

    Uninstall Time Doctor on Ubuntu

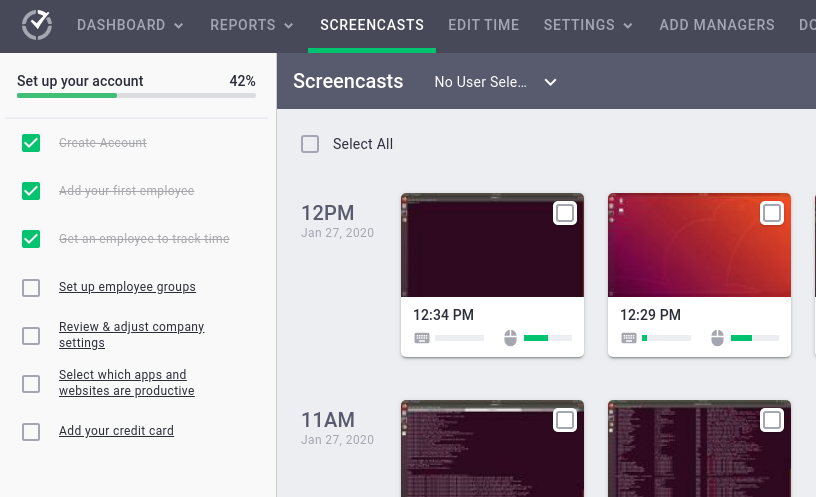
    Time Doctor is an application to track time. To uninstall Time Doctor on Ubuntu, run

    sudo /bin/bash -c 'apt purge sfproc; /bin/bash /opt/sfproc/uninstall'
    

    Time doctor run following process

    root@pc8:~# ps aux | grep sfp
    root      7884  0.0  0.1  72848  4316 pts/1    S    09:53   0:00 sudo -H -u training /bin/bash -l -c export DISPLAY=:0; export XAUTHORITY=/run/user/1004/gdm/Xauthority; export DBUS_SESSION_BUS_ADDRESS=unix:path=/run/user/1004/bus,guid=be774defc4c97a1711ff06305e2fb38d; export TD_DEVELOPER=; export XDG_CURRENT_DESKTOP=ubuntu:GNOME; export XDG_SESSION_DESKTOP=ubuntu; export XDG_SESSION_ID=2; cd /home/training; /opt/sfproc/SF/sfproc/3.0.64/sfproc &> /dev/null
    training  7889  0.0  0.0  19992  3148 pts/1    S    09:53   0:00 /bin/bash -l -c export DISPLAY=:0; export XAUTHORITY=/run/user/1004/gdm/Xauthority; export DBUS_SESSION_BUS_ADDRESS=unix:path=/run/user/1004/bus,guid=be774defc4c97a1711ff06305e2fb38d; export TD_DEVELOPER=; export XDG_CURRENT_DESKTOP=ubuntu:GNOME; export XDG_SESSION_DESKTOP=ubuntu; export XDG_SESSION_ID=2; cd /home/training; /opt/sfproc/SF/sfproc/3.0.64/sfproc &> /dev/null
    training  7893  4.4  1.2 1407988 51724 pts/1   SLl  09:53   0:00 /opt/sfproc/SF/sfproc/3.0.64/sfproc
    root      7947  0.0  0.0  21536   976 pts/1    S+   09:54   0:00 grep --color=auto sfp
    root@pc8:~# 
    
  • VirtualBox Ubuntu Shared Folder

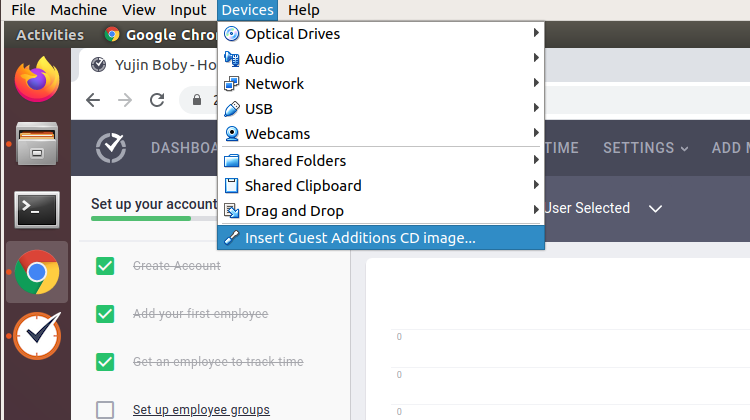
    Once you shared a folder in VirtualBox with Ubuntu Guest, you need to install VirtualBox Guest additions, this can be done from menu.

    Devices > Insert Guest Additions CD image
    

    Once this is done, in your Guest OS, you will see a CD rom, install the provided software.

    Before you can use shared folder, you need to add the user you use to group vboxsf, to do this, run following command in terminal.

    sudo usermod -G vboxsf -a $USER
    

    $USER is user name of the user you will be using. You can replace it with any user you will be using to access the shared folder.

  • Ubuntu pure-ftpd reply with unroutable address

    On AWS Ubuntu server running pure-ftpd, when i try connecting, i get error

    Status:	Server sent passive reply with unroutable address. Using server address instead.
    

    To fix this, run

    echo "30000 50000" > /etc/pure-ftpd/conf/PassivePortRange
    echo "YOUR_PUBLIC_IP_HERE" > /etc/pure-ftpd/conf/ForcePassiveIP
    

    YOUR_PUBLIC_IP_HERE = Replace with your Elastic IP or Public IP (if you don’t have an Elastic IP).

    Restart pure-ftpd

    systemctl stop pure-ftpd
    systemctl start pure-ftpd
    

    On AWS security groups, you need to open following ports

    TCP 21
    TCP 30000-50000
    
  • ISPConfig reset admin password

    ISPConfig reset admin password

    To reset password for ISPConfig, login to MySQL as root.

    mysql -u root -p
    

    if you don’t have MySQL root password, see ISPConfig Find MySQL root password.

    Switch to ISPConfig database

    use dbispconfig;
    

    To change password, run

    UPDATE sys_user SET passwort = md5('NEW_PASSWORD_HERE') WHERE username = 'admin';
    

    Replace NEW_PASSWORD_HERE with your new password.

  • ISPConfig Find MySQL root password

    To find MySQL root password on ISPConfig server, run

    /usr/local/ispconfig/server/lib/mysql_clientdb.conf
    
  • Git Ignore file Permission (chmod)

    Git Ignore file Permission (chmod)

    Some times when you transfer file to web server, you may need a differnt file permission for files to run in web server, if your code is in git, this make the files marked as modified eventhough file contents are the same. To avoid git checking for file permission (chmod), run following command

    git config core.filemode false
    

    See git

  • Gitlab find version

    To find version of hosted Gitlab installation, run

    gitlab-rake gitlab:env:info
    

    Example

    root@simplegitlab:~# gitlab-rake gitlab:env:info
    
    System information
    System:		Ubuntu 16.04
    Current User:	git
    Using RVM:	no
    Ruby Version:	2.5.3p105
    Gem Version:	2.7.9
    Bundler Version:1.17.3
    Rake Version:	12.3.2
    Redis Version:	3.2.12
    Git Version:	2.21.0
    Sidekiq Version:5.2.7
    Go Version:	unknown
    
    GitLab information
    Version:	11.11.0
    Revision:	3e8ca2fb781
    Directory:	/opt/gitlab/embedded/service/gitlab-rails
    DB Adapter:	PostgreSQL
    DB Version:	9.6.11
    URL:		https://gitlab.simplecloud.co.za
    HTTP Clone URL:	https://gitlab.simplecloud.co.za/some-group/some-project.git
    SSH Clone URL:	[email protected]:some-group/some-project.git
    Using LDAP:	no
    Using Omniauth:	yes
    Omniauth Providers: 
    
    GitLab Shell
    Version:	9.1.0
    Repository storage paths:
    - default: 	/var/opt/gitlab/git-data/repositories
    GitLab Shell path:		/opt/gitlab/embedded/service/gitlab-shell
    Git:		/opt/gitlab/embedded/bin/git
    root@simplegitlab:~# 
    

    Back to Gitlab