Category: Linux
-
Resize EC2 file system with lvm
On an EC2 server with an LVM file system, I need to increase the size of the / partition. First, increase the size of the volume in the Amazon AWS console as per Resize Amazon EC2 Boot Disk, once volume size is increased, you need to resize your filesystem.
[root@sok ~]# df -h Filesystem Size Used Avail Use% Mounted on devtmpfs 3.8G 0 3.8G 0% /dev tmpfs 3.8G 0 3.8G 0% /dev/shm tmpfs 3.8G 17M 3.8G 1% /run tmpfs 3.8G 0 3.8G 0% /sys/fs/cgroup /dev/mapper/cl-root 38G 33G 5.1G 87% / /dev/nvme0n1p1 1014M 412M 603M 41% /boot tmpfs 775M 0 775M 0% /run/user/0 [root@sok ~]#
Here is result of parted -l
[root@sok ~]# parted -l Model: Linux device-mapper (linear) (dm) Disk /dev/mapper/cl-swap: 1074MB Sector size (logical/physical): 512B/512B Partition Table: loop Disk Flags: Number Start End Size File system Flags 1 0.00B 1074MB 1074MB linux-swap(v1) Model: Linux device-mapper (linear) (dm) Disk /dev/mapper/cl-root: 40.7GB Sector size (logical/physical): 512B/512B Partition Table: loop Disk Flags: Number Start End Size File system Flags 1 0.00B 40.7GB 40.7GB xfs Model: NVMe Device (nvme) Disk /dev/nvme0n1: 172GB Sector size (logical/physical): 512B/512B Partition Table: msdos Disk Flags: Number Start End Size Type File system Flags 1 1049kB 1075MB 1074MB primary xfs boot 2 1075MB 10.7GB 9663MB primary lvm 3 10.7GB 16.1GB 5369MB primary lvm 4 16.1GB 42.9GB 26.8GB primary lvm [root@sok ~]#
/dev/nvme0n1 was resized to 172 GB, but the 4th partition was only using 26 GB.
Resize the 4th partition with the command “growpart /dev/nvme0n1 4”
[root@sok ~]# growpart /dev/nvme0n1 4 CHANGED: partition=4 start=31457280 old: size=52428800 end=83886080 new: size=304087007 end=335544287 [root@sok ~]# parted /dev/nvme0n1 print Model: NVMe Device (nvme) Disk /dev/nvme0n1: 172GB Sector size (logical/physical): 512B/512B Partition Table: msdos Disk Flags: Number Start End Size Type File system Flags 1 1049kB 1075MB 1074MB primary xfs boot 2 1075MB 10.7GB 9663MB primary lvm 3 10.7GB 16.1GB 5369MB primary lvm 4 16.1GB 172GB 156GB primary lvm [root@sok ~]#
Resize physical volume with “pvresize /dev/nvme0n1p4” command.
[root@sok ~]# pvresize /dev/nvme0n1p4 Physical volume "/dev/nvme0n1p4" changed 1 physical volume(s) resized or updated / 0 physical volume(s) not resized [root@sok ~]#
Finally resize logical volume with the command “lvextend -r -l +100%FREE /dev/mapper/cl-root”. -r option resize the file system also.
[root@sok ~]# lvextend -r -l +100%FREE /dev/mapper/cl-root Size of logical volume cl/root changed from 37.90 GiB (9703 extents) to <157.99 GiB (40445 extents). Logical volume cl/root successfully resized. meta-data=/dev/mapper/cl-root isize=512 agcount=19, agsize=524032 blks = sectsz=512 attr=2, projid32bit=1 = crc=1 finobt=0 spinodes=0 data = bsize=4096 blocks=9935872, imaxpct=25 = sunit=0 swidth=0 blks naming =version 2 bsize=4096 ascii-ci=0 ftype=1 log =internal bsize=4096 blocks=2560, version=2 = sectsz=512 sunit=0 blks, lazy-count=1 realtime =none extsz=4096 blocks=0, rtextents=0 data blocks changed from 9935872 to 41415680 [root@sok ~]#
Now the size of the / portion is increased to use full available disk space.
[root@sok ~]# df -h Filesystem Size Used Avail Use% Mounted on devtmpfs 3.8G 0 3.8G 0% /dev tmpfs 3.8G 0 3.8G 0% /dev/shm tmpfs 3.8G 17M 3.8G 1% /run tmpfs 3.8G 0 3.8G 0% /sys/fs/cgroup /dev/mapper/cl-root 158G 33G 126G 21% / /dev/nvme0n1p1 1014M 412M 603M 41% /boot tmpfs 775M 0 775M 0% /run/user/0 [root@sok ~]#
-
Run rsync if not running using cronjob
I want to rsync files from one server to another server every 5 minutes, but only want to start the rsync if the previous rsync command has finished. Time for one rsync depends on how much data changed on the source server, so the time taken to finish rsync cronjob varies.
Create file rsync.sh
#!/bin/bash if ! pgrep -x "rsync" > /dev/null then rsync -avzP /var/www/html/files/ [email protected]:/var/www/html/files/ fi
Set cronjob like
*/10 * * * * /root/rsync.sh > /dev/null
-
How to Install memcached on CentOS Plesk Server
Install memcached daemon with command
yum install Memcached
Enable memcached to start on boot
systemctl enable memcached
Start memcached
systemctl start memcached
You can verify if memcached is running with the command “netstat -lntp”
[root@server ~]# netstat -lntp |grep memcache tcp 0 0 0.0.0.0:11211 0.0.0.0:* LISTEN 129472/memcached tcp6 0 0 :::11211 :::* LISTEN 129472/memcached [root@server ~]#
By default Memcached listen on all interfaces (0.0.0.0:11211). You need to make it bind to 127.0.0.1 only, so no one will be able to access your Memcached installation from the public. For securing Memcached installation, refer How to secure Memcached on CentOS 7. After Memcached is secured, you will see it listen on 127.0.0.1 only like the following
[root@server etc]# netstat -lntp | grep mem tcp 0 0 127.0.0.1:11211 0.0.0.0:* LISTEN 81636/memcached [root@server etc]#
Install memcached PHP Module
Install the requirements
yum install -y libmemcached-devel zlib-devel
Replace default system PHP with PHP version on which you need memcache PHP module installed. In this case, I will be installing the PHP module for PHP version 7.4
cd /usr/bin mv php php.old mv phpize phpize.old ln -s /opt/plesk/php/7.4/bin/php ln -s /opt/plesk/php/7.4/bin/phpize
Now run the command
/opt/plesk/php/7.4/bin/pecl install memcached
If you get error related to phpize missing, you need to install PHP devel package.
yum install plesk-php74-devel
After install finished, you need to edit php.ini
vi /opt/plesk/php/7.4/etc/php.ini
At end of the file, add
extension=memcached.so
Restart php-fpm
systemctl restart plesk-php74-fpm.service
Install memcache module
the latest version of memcache won’t work with PHP 7.4, so we need to use an older version.
To install version 4.0.5.2 of memcache, run
/opt/plesk/php/7.4/bin/pecl install memcache-4.0.5.2
After installing, edit php.ini file
vi /opt/plesk/php/7.4/etc/php.ini
At end of the file, add
extension=memcache.so
Restart php-fpm
systemctl restart plesk-php74-fpm.service
-
smartmontools
smartmontools is used to check the health of hard disks.
To install smartmontools on CentOS, run
yum install smartmontools
The command line for smartmontools is smartctl
-
How to verify installed packages on Ubuntu/Debian
To verify the integrity of installed packages, you can use debsums utility. First of all install debsums with command
apt install -y debsums
To verify packages, run
debsums -s
To verify a package
debsums PKG_NAME
If you find any packages with missing files, you can reinstall them with the command
apt reinstall PKG_NAME
-
sleep-monitor system is about to suspend
On a remote Linux server running XFCE desktop, the server goes down randomly, on monitoring /var/log/syslog, i found the following message
Jan 18 05:43:24 sokdesk ModemManager[1300]:
[sleep-monitor] system is about to suspend Jan 18 05:43:24 sokdesk systemd[1]: Reached target Sleep. Jan 18 05:43:24 sokdesk systemd[1]: Starting Record successful boot for GRUB... Jan 18 05:43:24 sokdesk systemd[1]: Starting Suspend... Jan 18 05:43:24 sokdesk systemd-sleep[2574]: Suspending system... Jan 18 05:43:24 sokdesk kernel: [ 1217.283955] PM: suspend entry (s2idle) When this happens, the remote desktop and SSH connections to the server get disconnected. To get back to the server, I had to restart the server.
The error is fixed by running the command
systemctl mask sleep.target suspend.target hibernate.target hybrid-sleep.target
-
View Past Performance Data With sar
sysstat stores past data in the directory
/var/log/sa - for RHEL based OS /var/log/sysstat - for Debian based OS
Each day log files are stored in a file with the respective date.
sa01 - log file for day 1 sa31 - log file for day 31
To view logs for day 9, run
sar -f /var/log/sa/sa09
If you want to see entries during a specific time, you can use
sar -f /var/log/sa/sa09 -s hh:mm:ss
Example
You can specify end time with -e option
If you want to see IO data, use -b option
sar -f /var/log/sa/sa09 -b
-
Install PHP 7.2 mcrypt extension on CWP Server
The mcrypt extension has been abandonware for nearly a decade and was deprecated in PHP 7.1, It has been removed from PHP 7.2. On PHP 7.2 or newer, you can manually install mcrypt from PCEL if you use legacy PHP code that still uses outdated mcrypt extension.
To install PHP mcrypt module on PHP 7.2 in CWP server, do the following.
cd /usr/local/src wget https://pecl.php.net/get/mcrypt-1.0.4.tgz tar xvf mcrypt-1.0.4.tgz cd mcrypt-1.0.4 /opt/alt/php72/usr/bin/phpize ./configure -with-php-config=/opt/alt/php72/usr/bin/php-config make make install
This will install the extension in folder /opt/alt/php72/usr/lib/php/extensions/no-debug-non-zts-20170718/. Copy it to php-fpm extension folder.
cp /opt/alt/php72/usr/lib/php/extensions/no-debug-non-zts-20170718/mcrypt.so /opt/alt/php-fpm72/usr/lib/php/extensions/no-debug-non-zts-20170718/
Create file mcrypt.ini for both php-fpm and php cli.
echo "extension=mcrypt.so" > /opt/alt/php72/usr/php/php.d/mcrypt.ini echo "extension=mcrypt.so" > /opt/alt/php-fpm72/usr/php/php.d//mcrypt.ini
Now you need to restart php-fpm with command
systemctl restart php-fpm72
Or though CWP admin area
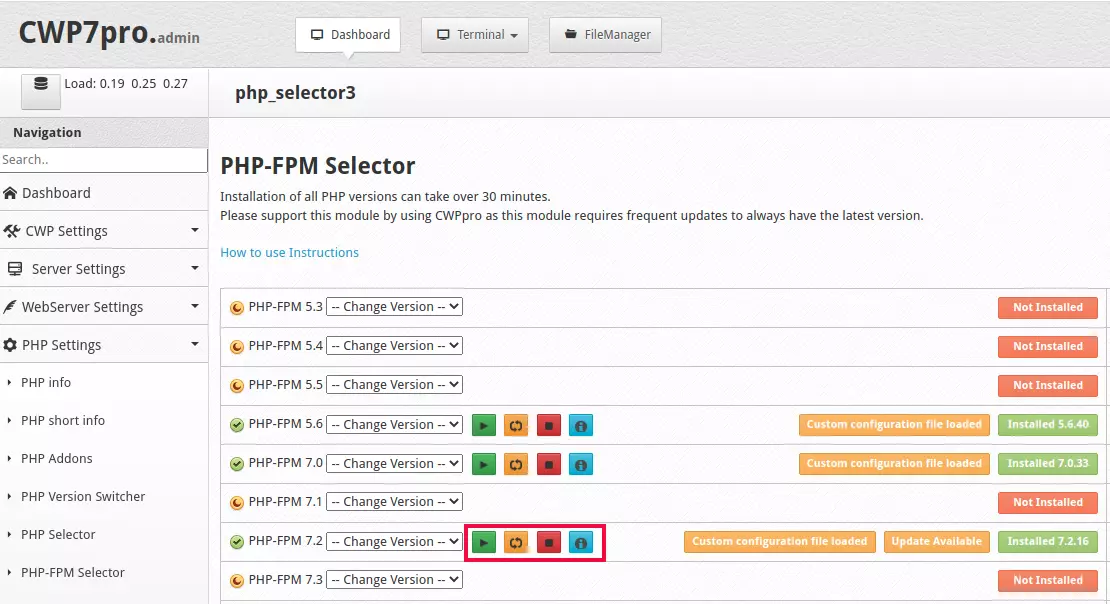
CWP Admin > PHP Settings > PHP-FPM Selector
Back to CentOS Web Panel (CWP)
-
Install CyberPanel on Ubuntu
To install CyberPanel on Ubuntu, run
apt install -y wget wget https://cyberpanel.net/install.sh bash install.sh
Once installed, you can log in to the admin area at
URL: https://SERVER_IP:8090 Username: admin Password: password you set during installation
Back to Cyberpanel
-
How to install Engintron on Cpanel Server
Engintron is a Cpanel plugin that allows you to use the Nginx web server as a reverse proxy in front of the Apache webserver used by Cpanel.
To install Engintron on Cpanel Server, run
cd / rm -f engintron.sh wget --no-check-certificate https://raw.githubusercontent.com/engintron/engintron/master/engintron.sh bash engintron.sh install
Nginx provides micro caching, speeding up websites hosted on the server. Since many of the pages get served from Nginx cache, the server will be able to handle more visitors and reduce server load.
-
How to find MySQL root password in Webuzo
Webuzo Hosting control panel stores MySQL root password in the file /var/webuzo/my.conf
To find MySQL root password on the Webuzo server, run the command
cat /var/webuzo/my.conf
Back to Webuzo