Configure multiple SSL certificates in nuster
Back to Reverse Proxy

Oracle Linux is a free RHEL based Linux distro. We will install PHP 5.6 on an Oracle Linux 7 server.
First, enable EPEL repo
yum install https://dl.fedoraproject.org/pub/epel/epel-release-latest-7.noarch.rpm
Enable Remi repo
yum install http://rpms.remirepo.net/enterprise/remi-release-7.rpm
Install yum-utils package
yum install yum-utils
Enable remi-php56
yum-config-manager --enable remi-php56
Install PHP 5.6 with
yum install -y php php-bcmath php-cli php-common php-devel php-gd \
    php-imap php-intl php-json php-ldap php-lz4 php-mbstring php-mysqlnd \
    php-soap php-intl php-opcache php-xml php-pdo
This will only install the CLI version of PHP 5.6. To make Apache work with PHP 5.6, install
yum install php-pecl-http.x86_64
This will create file /etc/httpd/conf.d/php.conf, that enable PHP module in Apache.
Restart apache webserver
systemctl restart httpd
Now Apache will be able to serve PHP files.

Jenkins is an open source automation server. It helps automate the parts of software development related to building, testing, and deploying, facilitating continuous integration and continuous delivery.
Jenkins is a Java Application. So you need to install JRE (Java Runtime Environment). Install it with
sudo apt-get install default-jre
You can find instructions for installing Jenkins on Debian/Ubuntu at
https://pkg.jenkins.io/debian-stable/
Install Jenkins
wget -q -O - https://pkg.jenkins.io/debian-stable/jenkins.io.key | sudo apt-key add -
sudo sh -c 'echo deb https://pkg.jenkins.io/debian-stable binary/ > /etc/apt/sources.list.d/jenkins.list'
sudo apt-get update
sudo apt-get install jenkins
Enable Jenkins to start on boot
sudo systemctl enable jenkins
Start Jenkins
sudo systemctl start jenkins
To check status
sudo systemctl status jenkins
You can verify Jenkins running on port 8080 with command
root@jenkins:~# netstat -lntp
Active Internet connections (only servers)
Proto Recv-Q Send-Q Local Address           Foreign Address         State       PID/Program name
tcp        0      0 127.0.0.53:53           0.0.0.0:*               LISTEN      186/systemd-resolve
tcp        0      0 0.0.0.0:22              0.0.0.0:*               LISTEN      256/sshd: /usr/sbin
tcp6       0      0 :::22                   :::*                    LISTEN      256/sshd: /usr/sbin
tcp6       0      0 :::8080                 :::*                    LISTEN      4774/java
root@jenkins:~#
To find the initial password, run the command
cat /var/lib/jenkins/secrets/initialAdminPassword

Apache Tomcat is an open source implementation of the Java Servlet and Java Server Pages. To install Apache Tomcat on CentOS 7, run
yum install tomcat
To enable tomcat start on boot
systemctl enable tomcat
You can manage tomcat with
systemctl stop tomcat
systemctl start tomcat
systemctl status tomcat
systemctl restart tomcat
To see the ports used by tomcat
[root@tomcat ~]# netstat -lntp| grep java
tcp6       0      0 127.0.0.1:8005          :::*                    LISTEN      31423/java
tcp6       0      0 :::8009                 :::*                    LISTEN      31423/java
tcp6       0      0 :::8080                 :::*                    LISTEN      31423/java
[root@tomcat ~]#
webapps are stored in the directory
/var/lib/tomcat/webapps
Create the default page with
mkdir /var/lib/tomcat/webapps/ROOT
echo "Hello Cat" > /var/lib/tomcat/webapps/ROOT/index.html
Tomcat web server can be accessed using
http://your-server-ip:8080
To open 8080 port on the firewall, use commands
firewall-cmd --permanent --zone=public --add-port=8080/tcp
firewall-cmd --reload
Tomcat configurations are available in the directory.
/etc/tomcat/
To install the Tomcat manager GUI application, run
yum install tomcat-admin-webapps.noarch -y
To create user, edit file
vi /etc/tomcat/tomcat-users.xml
Inside “
USER_NAME_HERE and PW_HERE – replace with the username and password you need.
Restart tomcat to activate Tomcat Manager GUI.
systemctl restart tomcat
To access GUI, go to
http://your-server-ip-here:8080/manager/
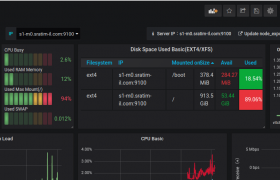
Node Exporter by default uses port 9100. You may need to use another port for Node Exporter if port 9100 is already used by another program on your server. On an OVH VPS, noderig was running in port 9100 and Node Exporter failed to start. To fix the issue, i had to run Node Exporter on a different port.
To change the Node Exporter port, edit the file
/etc/systemd/system/node_exporter.serviceFind line
ExecStart=/usr/local/bin/node_exporterReplace it with
ExecStart=/usr/local/bin/node_exporter --web.listen-address=:9101In the above line, 9101 is the new Node Exporter port. You can change it to any other port as required.
Here is the complete code
root@ns568267:~# cat /etc/systemd/system/node_exporter.service
[Unit]
Description=Node Exporter
Wants=network-online.target
After=network-online.target

[Service]
User=node_exporter
Group=node_exporter
Type=simple
ExecStart=/usr/local/bin/node_exporter --web.listen-address=:9101

[Install]
WantedBy=multi-user.target
root@ns568267:~#
Reload systemd
systemctl daemon-reloadRestart node exporter
systemctl start node_exporterYou can verify node_exporter is running with the command
root@ns568267:~# netstat -lntp | grep node_
tcp6       0      0 :::9101                 :::*                    LISTEN      15630/node_exporter
root@ns568267:~# 
top command is used to see current system resource usage
To show the current process
top -n 1 -bTop sorted by memory
top -b -n 1 -o %MEM | sort -nk 6Delay 3 second
top -cd3Back to Linux Commands

ack is a command-line utility written in Perl for searching strings inside files. By default when you search, it shows you the file name along with the matching content of the file. Sometimes you may only want to list file names that match your search. This can be done with -l option
ack -l "search string here"
Example
See ack

Microsoft .NET SDK and Run time now available for Linux. To install .NET SDK and runtime on Ubuntu 20.04, follow the instructions below
Run the following commands as user root. If you are logged in as a normal user, use the command “sudo su” to become user root.
wget https://packages.microsoft.com/config/ubuntu/20.04/packages-microsoft-prod.deb -O packages-microsoft-prod.deb
dpkg -i packages-microsoft-prod.deb
rm packages-microsoft-prod.deb
Update the repo and install apt-transport-https
apt-get update
apt-get install -y apt-transport-https
Search for available dotnet-sdk versions
apt-cache search dotnet-sdk

On Ubuntu 20.04, Microsoft provides .NET SDK version 2.1, 3.1, and 5. Let’s install version 5.
apt-get install -y dotnet-sdk-5.0
To find the version of .NET SDK, run
dotnet --version

You can find .NET SDK and runtime available with commands
dotnet --list-sdks
dotnet --list-runtimes
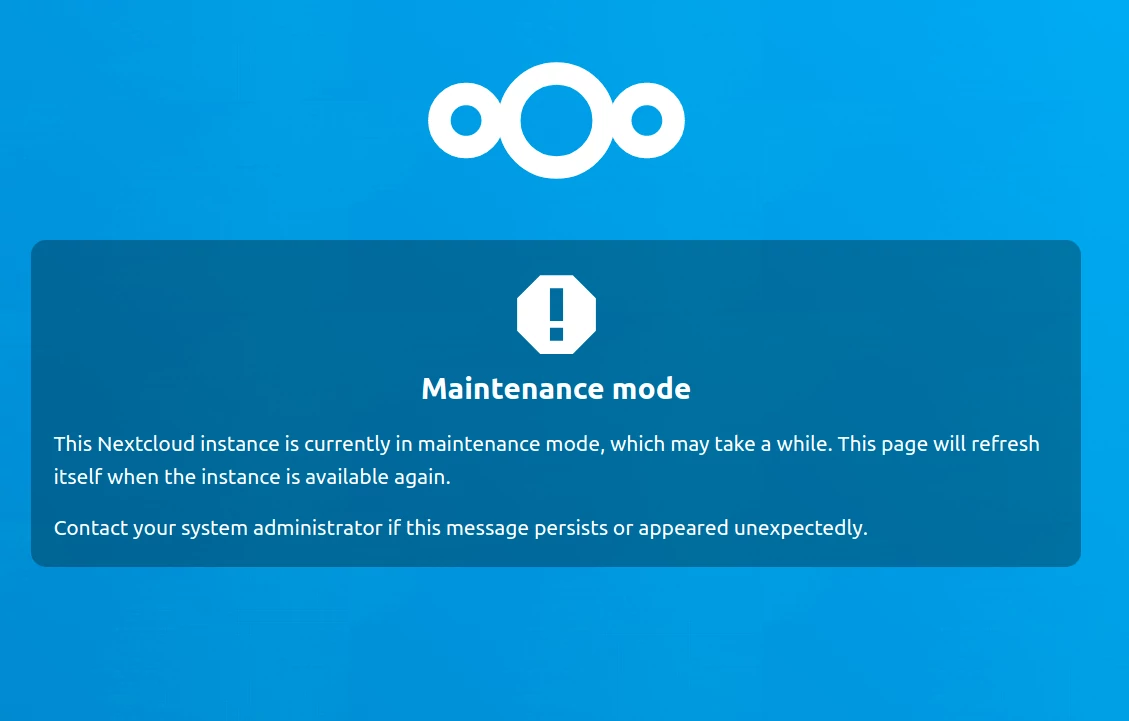
Maintenance mode is useful when you are making changes to your nextcloud installation like a software upgrade.
To enable maintenance mode, run the command
php7.3 occ maintenance:mode --on
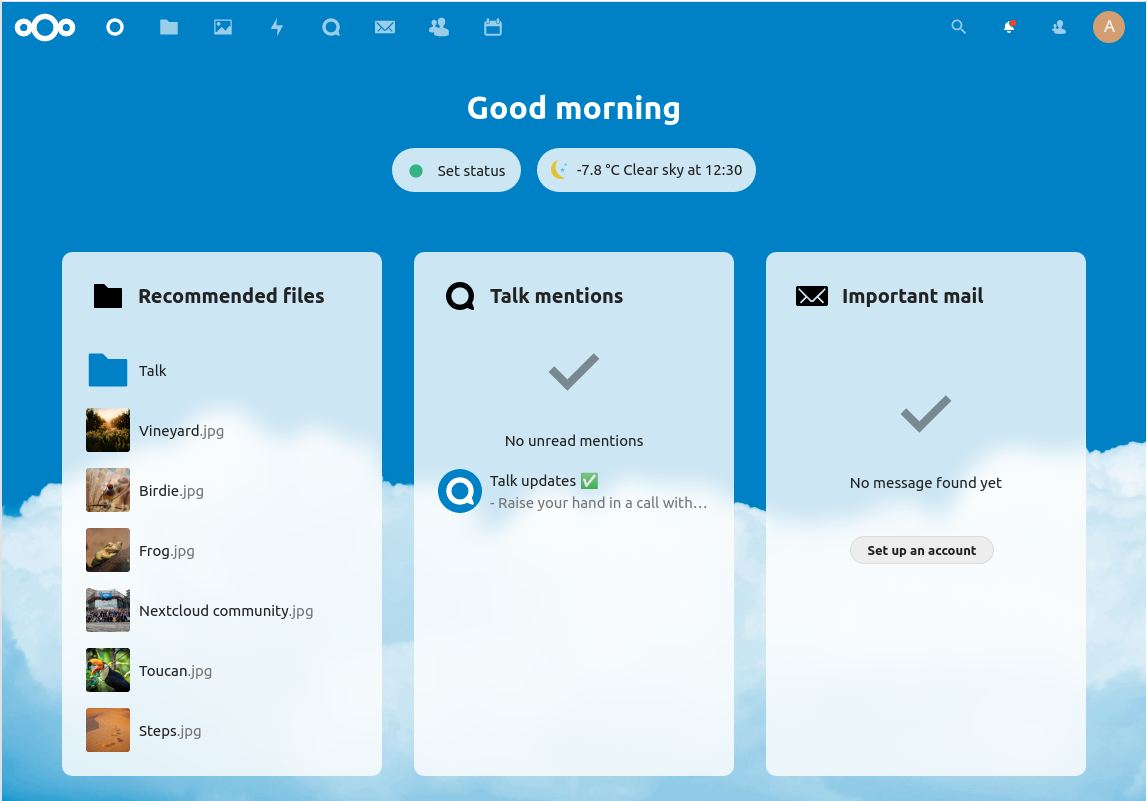
To disable maintenance mode, run
php7.3 occ maintenance:mode --off
Example
www-data@mail:/www/nextcloud$ php occ maintenance:mode --off
Maintenance mode disabled
www-data@mail:/www/nextcloud$
See Nextcloud
On Ubuntu server running Nextcloud, I got the following warning in Nextcloud
Module php-imagick in this instance has no SVG support. For better compatibility it is recommended to install it.
To fix this warning, install libmagickcore-6.q16-6-extra package with the command
apt-get install libmagickcore-6.q16-6-extra
See Nextcloud

When making a file immutable with chattr command, I get the following error
[root@vps784847 vhosts]# chattr +i serverok.in.conf
chattr: Operation not supported while reading flags on serverok.in.conf
[root@vps784847 vhosts]#
The error was due to the file I was trying to chattr being a symlink, not a real file.
[root@vps784847 vhosts]# ls -la
total 0
drwxr-xr-x. 2 root root  31 Oct 27 08:11 .
drwxr-xr-x. 7 root root 131 Jun  1 02:03 ..
lrwxrwxrwx. 1 root root  51 Jul 24 12:39 serverok.in.conf -> /var/www/vhosts/system/serverok.in/conf/nginx.conf
[root@vps784847 vhosts]#
To fix the error, chattr the actual file.
chattr +i /var/www/vhosts/system/serverok.in/conf/nginx.confBack to Linux Commands

You can use nvme-cli to check your NVMe disks. To install nvme-cli, run
On Ubuntu/Debian
sudo apt-get install -y nvme-cli
On RHEL
sudo yum install nvme-cli
To list of NVMe drives, use
nvme list
Example
[root@server52 ~]# nvme list
Node             SN                   Model                                    Namespace Usage                      Format           FW Rev
---------------- -------------------- ---------------------------------------- --------- -------------------------- ---------------- --------
/dev/nvme0n1     S439NA0N900171       SAMSUNG MZQLB1T9HAJR-00007               1         531.97  GB /   1.92  TB    512   B +  0 B   EDA5402Q
/dev/nvme1n1     S439NA0N900057       SAMSUNG MZQLB1T9HAJR-00007               1         532.00  GB /   1.92  TB    512   B +  0 B   EDA5402Q
[root@server52 ~]#
To find smart data, run
nvme smart-log DEVICE_NAME_HERE
Example
[root@server52 ~]# nvme smart-log /dev/nvme0n1
Smart Log for NVME device:nvme0n1 namespace-id:ffffffff
critical_warning                    : 0
temperature                         : 39 C
available_spare                     : 100%
available_spare_threshold           : 10%
percentage_used                     : 0%
data_units_read                     : 130,334,241
data_units_written                  : 69,361,921
host_read_commands                  : 866,547,209
host_write_commands                 : 710,448,251
controller_busy_time                : 998
power_cycles                        : 88
power_on_hours                      : 5,464
unsafe_shutdowns                    : 83
media_errors                        : 0
num_err_log_entries                 : 0
Warning Temperature Time            : 0
Critical Composite Temperature Time : 0
Temperature Sensor 1                : 39 C
Temperature Sensor 2                : 43 C
Temperature Sensor 3                : 47 C
Thermal Management T1 Trans Count   : 0
Thermal Management T2 Trans Count   : 0
Thermal Management T1 Total Time    : 0
Thermal Management T2 Total Time    : 0
[root@server52 ~]#
To see the NVMe error log
nvme error-log DEVICE_NAME_HERE