Tag: linux

  • Disable Native Notification on Google Chrome Ubuntu

    On Ubuntu, Google chrome had a disable native notification option. On Chrome 78, this option is removed. But you still can manually enable it.

    To enbale chrome notification, edit file

    gedit ~/.config/google-chrome/Local\ State
    

    Find

    "tab-hover-cards@4"
    

    Replace with

    "enable-native-notifications@2","tab-hover-cards@4"
    

    Save and exit the file. Now restart google chrome.

    Related Posts

    Google Chrome

  • Identify virtual machine technology

    virt-what is a shell script which can be used to detect if the program is running in a virtual machine.

    It will identify what VM technology is used for current VM. For example KVM, Xen, HyperV etc.

    On CentOS 7, install virt-what with

    yum -y install virt-what

    On Debian/Ubuntu

    apt install virt-what

    Example

    virt-what

    See VPS

  • apropos

    apropos is a linux command that search manual pages and descriptions.

    Example

    root@mil-146068:~# apropos vagrant
    vagrant (1)          - Tool for building and distributing virtualized development environments.
    dh_vagrant_plugin (1) - packaging helper for vagrant plugins
    root@mil-146068:~# 
    

    See Linux Commands

  • maximum number of open files and file descriptors in linux

    To see open files in linux use the command

    lsof
    

    There is a limit set in the kernel on how many open file descriptors are allowed on the system. This may be compiled in, or it may be tunable on the fly. In Linux, the value of this parameter can be read from and written to the proc filesystem.

    [root@server50 home]# cat /proc/sys/fs/file-max
    131072
    [root@server50 home]#
    

    On this system 1,31,072 open file descriptors are permitted. We are unlikely to run out. If we wanted to change it, we’d do something like this:

    echo "132096" > /proc/sys/fs/file-max 
    

    But how do we know how many file descriptors are being used?

    [root@server1 ~]# cat /proc/sys/fs/file-nr
    1792    0       131072
    |	 |       |
    |	 |       |
    |        |       maximum open file descriptors
    |        total free allocated file descriptors
    total allocated file descriptors
    (the number of file descriptors allocated since boot)
    
  • df not showing all mounts

    On a server, df not showing all mounts

    root@server20 [~]# df -h
    Filesystem            Size  Used Avail Use% Mounted on
    tmpfs                 3.9G     0  3.9G   0% /dev/shm
    root@server20 [~]#
    

    This is caused by corrupt /etc/mtab

    To fix

    mv /etc/mtab /etc/mtab.old
    cat /proc/mounts > /etc/mtab
    

    See df

  • Show disk usage with df

    df command shows partitions and disks used by each partition.

    root@server54 [~]# df -h
    Filesystem            Size  Used Avail Use% Mounted on
    /dev/sda2             450G  380G   47G  90% /
    /dev/sda1              99M   11M   83M  12% /boot
    tmpfs                 2.0G     0  2.0G   0% /dev/shm
    /dev/sdb1             458G  390G   46G  90% /backup
    /usr/tmpDSK           485M   63M  397M  14% /tmp
    root@server54 [~]#
    

    To see partitions alone with Type, use

    df -hT
    

    df not showing all mounts

  • MySQL ERROR Access denied  you need SUPER privilege for this operation

    MySQL ERROR Access denied you need SUPER privilege for this operation

    WHen restoring a MySQL database, i get following error

    root@ns3043014:~# mysql -u NEW_DB_USER -p'PASSOWRD_HERE' DB_NAME < BACKUP_FILE.sql
    ERROR 1227 (42000) at line 4382: Access denied; you need (at least one of) the SUPER privilege(s) for this operation
    root@ns3043014:~# 
    

    I opened the file in vim editor. On checking line 4382, i found following

    /*!50013 DEFINER=`OLD_DB_USER`@`localhost` SQL SECURITY DEFINER */
    

    This is because some stored procedures use old database user as definer. To fix you need to find and replace all entry for old username with new username.

    In vim, i can run

    :%s/OLD_DB_USER/NEW_DB_USER/g
    

    Or delete the DEFINER line from SQL file.

    sed 's/\sDEFINER=`[^`]*`@`[^`]*`//g' BACKUP_FILE.sql > BACKUP_FILE-modified.sql
    

    Or

    sed -i old 's/\DEFINER\=`[^`]*`@`[^`]*`//g' BACKUP_FILE.sql
    

    Now restore BACKUP_FILE-modified.sql with

    mysql -u NEW_DB_USER -p'PASSOWRD_HERE' DB_NAME < BACKUP_FILE-modified.sql
    
  • Install Unbound DNS caching server

    Unbound is an Open source DNS caching and recursive resolver. You can find more about unbound at

    https://nlnetlabs.nl/projects/unbound/about/

    To install unbound on Ubuntu/Debian, run

    apt install unbound
    

    To start unbound

    systemctl start unbound
    

    Set unbound to start on boot

    systemctl enable unbound
    

    To configure your server to use local name servers provided by unbound, edit file

    vi /etc/resolv.conf
    

    Add

    nameserver 127.0.0.1
    

    See dns

  • Manually run icecast on CentovaCast server

    On CentovaCast server, icecast is run as user ccuser, to run icecast, you need to enable shell for this user. By defult, this user have shell access disabled.

    ccuser:x:1001:1001::/usr/local/centovacast:/bin/false
    

    running icecast manually maybe useful when you want to debug some issue with icecast.

    To enable bash shell for user, run

    chsh --shell /bin/bash ccuser
    

    Login as user ccuser

    su - ccuser
    

    Now start icecast with

    /usr/local/icecast/bin/icecast -c /usr/local/centovacast/var/vhosts/USER_HERE/etc/server.conf
    

    Beofore you manually start icecast from terminal, make sure you stop icecast by logging into user in Centova Cast control panel.

    centovacast icecast

    See Centova Cast

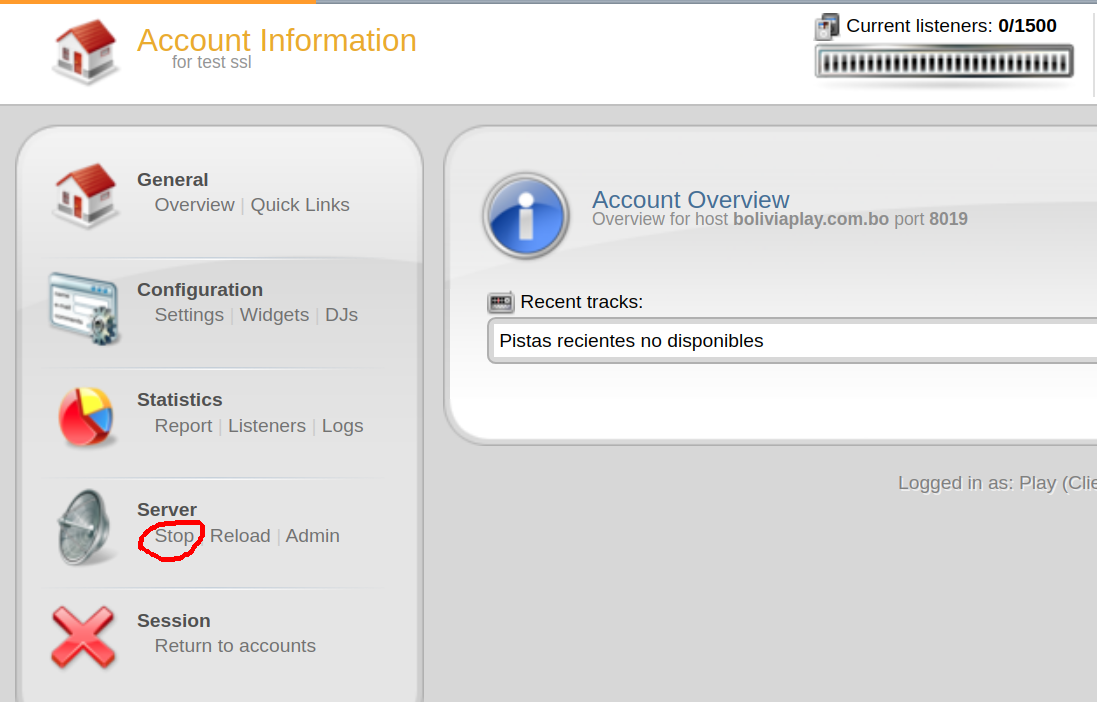
  • CentovaCast Enable SSL on icecast

    Before you can get SSL work, you need to compile icecast with SSL. If icecast is not installed with SSL support, it will ignore settings and just serve the stream using non HTTPS.

    To install Icecast with SSL support, download Icecast from

    https://icecast.org/download/

    cd /usr/local/src
    wget http://downloads.xiph.org/releases/icecast/icecast-2.4.4.tar.gz
    tar xvf icecast-2.4.4.tar.gz
    cd icecast-2.4.4
    ./configure --prefix=/usr/serverok/icecast --with-curl --with-openssl
    

    You need to verify SSL supported enabled. If you don’t have SSL support, you will see following error.

    configure: SSL disabled!
    

    If SSL enabled, you can verify it with

    grep lssl config.status
    

    You will see something like

    [root@vmi173436 icecast-2.4.4]# grep lssl config.status
    S["XIPH_LIBS"]=" -lssl -lcrypto  -lcurl   -lspeex  -ltheora  -lvorbis -logg  -L/usr/lib64 -lxslt -lxml2 -lz -ldl -lm "
    [root@vmi173436 icecast-2.4.4]# 
    

    If you get SSL disabled message, you need to install openssl-dev package

    yum install -y openssl-devel
    

    If SSL enabled, install icecast with

    make
    make install
    

    Replace icecast provided with CentovaCast with

    mv /usr/local/icecast/bin/icecast /usr/local/icecast/bin/icecast-old
    ln -s /usr/serverok/icecast/bin/icecast /usr/local/icecast/bin/icecast
    

    Enable SSL for stream

    You need to edit icecast config for each user to do this. Config file stored at

    vi /usr/local/centovacast/var/vhosts/USERNAME_HERE/etc/server.conf
    

    Find

            8005
    

    Replace with

    	
    		8005


    		9005   
    		1


    Here port 8005 is whatever port used by the stram. 9005 can be any unused port. It is better just use a port same format, so you know what port SSL will be running on.

    Find

    var/run/server.pid
    

    Add Below

        /usr/local/centovacast/etc/ssl/icecast.pem
        ECDH+AESGCM:DH+AESGCM:ECDH+AES256:DH+AES256:ECDH+AES128:DH+AES:ECDH+3DES:DH+3DES:RSA+AESGCM:RSA+AES:RSA+3DES:!aNULL:!MD5:!DSS
    

    Now create a file

    vi /usr/local/centovacast/etc/ssl/icecast.pem
    

    Paste your SSL in following order

    1) Your private key
    2) Your SSL cert
    3) CA Bundle
    

    Change owner of the SSL cert file

    chown ccuser:ccuser /usr/local/centovacast/etc/ssl/icecast.pem
    

    Stop and start icecast in CentovaCast.

    Here is a server.conf file for a user with SSL enabled.

    https://gist.github.com/serverok/57ae398bb94aa61d9945f2405c73e221

    See Centova Cast

  • Install Paid SSL on Centova Cast

    To install SSL on Centova Cast, edit file

    vi /usr/local/centovacast/etc/ssl/certificate.pem
    

    Add your SSL cert and ca-bundle file content to this file.

    Edit

    vi /usr/local/centovacast/etc/ssl/private.key
    

    paste your private key.

    Creae dhparam.

    cd /usr/local/centovacast/etc/ssl/
    openssl dhparam -out dhparam.pem 4096
    

    Edi nginx config

    vi /usr/local/centovacast/etc/cc-panel.conf
    

    find

    listen 2199 default ssl;
    

    Add below

    listen 443 ssl;
    listen 80;
    

    Verify Nginx config is valid with

    /usr/local/centovacast/sbin/cc-web -t
    

    If all good, restart nginx with

    /usr/local/centovacast/sbin/cc-web -s reload
    

    Now Centova Cast can be accessed using HTTPS/SSL.

  • Set server time PST/PDT

    To set server time to PST/PDT, run

    rm -f /etc/localtime
    ln -sf /usr/share/zoneinfo/America/Los_Angeles /etc/localtime
    

    or

    timedatectl set-timezone America/Los_Angeles