Category: Linux

  • webmin create new admin user from command line

    webmin create new admin user from command line

    webmin

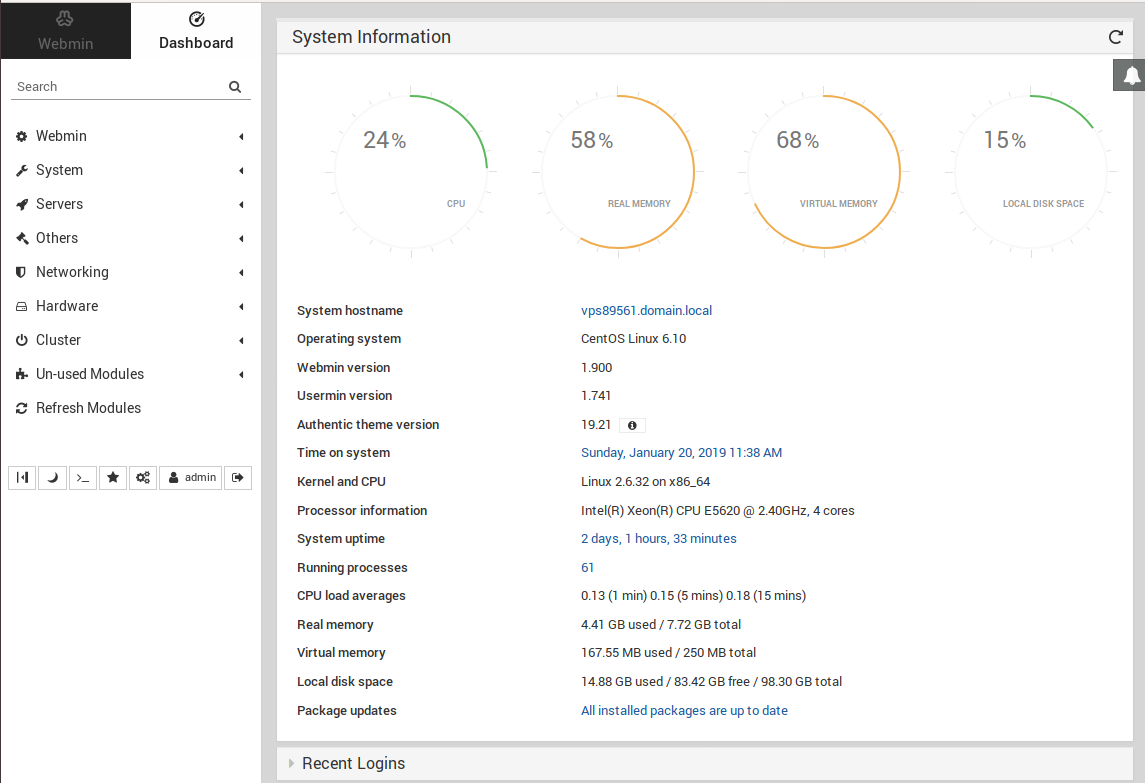
    PAM authentication failed n a webmin server with no errors on CentOS 6 server. To fix this, i created a nom PAM user “admin”.

    To add non PAM user, edit

    /etc/webmin/miniserv.users
    

    Add

    admin:mypassword
    

    Edit file

    vi /etc/webmin/webmin.acl
    

    Add

    admin: acl adsl-client ajaxterm apache at backup-config bacula-backup bandwidth bind8 burner change-user cluster-copy cluster-cron cluster-passwd cluster-shell cluster-software cluster-useradmin cluster-usermin cluster-webmin cpan cron custom dfsadmin dhcpd dovecot exim exports fail2ban fdisk fetchmail filemin file filter firewall6 firewalld firewall fsdump grub heartbeat htaccess-htpasswd idmapd inetd init inittab ipfilter ipfw ipsec iscsi-client iscsi-server iscsi-target iscsi-tgtd jabber krb5 ldap-client ldap-server ldap-useradmin logrotate lpadmin lvm mailboxes mailcap man mon mount mysql net nis openslp package-updates pam pap passwd phpini postfix postgresql ppp-client pptp-client pptp-server procmail proc proftpd qmailadmin quota raid samba sarg sendmail servers shell shorewall6 shorewall smart-status smf software spam squid sshd status stunnel syslog syslog-ng system-status tcpwrappers telnet time tunnel updown useradmin usermin vgetty webalizer webmincron webminlog webmin wuftpd xinetd virtual-server virtualmin-awstats jailkit virtualmin-htpasswd virtualmin-sqlite virtualmin-dav ruby-gems virtualmin-git php-pear virtualmin-init virtualmin-slavedns virtualmin-registrar
    

    Set a password for user admin.

    /usr/libexec/webmin/changepass.pl /etc/webmin admin  PASSWORD_HERE
    

    Now you will be able to login to webmin at

    https://your-server-ip:10000
    User = admin
    PW = password you used in above step
    
  • Comment multiple lines in vim

    To comment multiple lines in vim, first select the line in visual mode.

    To change mode to visual mode, type

    v
    

    Now use j/k keys to select lines of text you need to comment.

    To comment

    To comment, use :norm command.

    :norm i#
    

    This will insert # to start of every line.

    When you type :norm, in visual mode, you will see

    :'<,'>norm i#
    

    Uncomment

    To uncomment, select the lines in visual mode. Then run

    :norm x
    

    this will delete first chars from every selected lines.

    Method 2

    You can use CTRL + V, this will select first char only.

    To comment

    1) Get into VISUAL_BLOCK mode by pressing CTRL + V
    2) use j/k keys to select lines to comment.
    3) Press SHIFT + I, now type #
    4) Press ESC

    To uncomment

    1) Get into VISUAL_BLOCK mode by pressing CTRL + V
    2) use j/k keys to select lines to comment.
    3) Press x

  • Install InterPlanetary File System (IPFS)

    Install InterPlanetary File System (IPFS)

    InterPlanetary File System (IPFS) is a peer-peer Distributed file system allow nodes to join and share files.

    https://ipfs.io

    To install IPFS, download latest version of IPFS for your Operating System from

    https://dist.ipfs.io/#go-ipfs

    For Ubuntu/Linux

    cd /usr/loca/src
    wget https://dist.ipfs.io/go-ipfs/v0.4.18/go-ipfs_v0.4.18_linux-amd64.tar.gz
    tar xvf go-ipfs_v0.4.18_linux-amd64.tar.gz
    cd go-ipfs
    ./install.sh
    

    Once installed, initialize IPFS server with command

    ipfs init --profile server
    

    Start ipfs server with

    ipfs daemon
    

    You can see all peers connected to your server with command

    ipfs swarm peers
    
  • Yum disable a repository

    To disable a repository, run

    yum-config-manager --disable REPO_NAME_HERE
    

    To list all enabled repository, run

    yum repolist
    
  • Large file upload in PHP

    To allow large file upload in PHP, you need to edit php.ini file and change fllowing settings

    memory_limit = 512M
    upload_max_filesize = 800M
    post_max_size = 800M
    max_input_time = 6000
    max_execution_time = 600
    

    If you have Dedicated or VPS, you can edit php.ini file using ssh. To find location of this file, upload a phpinfo page to your server, that will display location of php.ini used by your web site.

    Some control panel like CPanel have option to edit php.ini settings.

  • Reverse proxy

    Reverse proxy sit in front of a web server. All traffic come to reverse proxy, then reverse proxy route traffic to one or more backend web servers.

    Nginx and Vranish are popular software used as reverse proxy.

    Show Real IP

  • ArchLinux Package Management with pacman

    To update packages, run

    pacman -Syu
    

    To install a software, run

    pacman -S PKG_NAME
    

    To search for a package

    pacman -Ss PKG_NAME
    

    Show information about a specific package

    pacman -Si PKG_NAME
    

    To get list of all files installed by a package

    pacman -Fl PKG_NAME
    pacman -Ql PKG_NAME
    

    To verify presence of all files installed by a package

    pacman -Qk PKG_NAME
    

    To find which package provide a file

    pacman -Fsy FILE_NAME
    

    Example

    [root@PAR-139278 ~]# pacman -Fsy apachectl
    :: Synchronizing package databases...
     core is up to date
     extra is up to date
     community is up to date
    extra/apache 2.4.39-1
        usr/bin/apachectl
    [root@PAR-139278 ~]# 
    
  • Install ruby from source

    Install ruby from source

    Ruby Programming

    Download latest version of ruby source code from

    https://www.ruby-lang.org/en/downloads/

    At the time of writing this, latest version is 2.6.0

    cd /usr/local/src
    wget https://cache.ruby-lang.org/pub/ruby/2.6/ruby-2.6.0.tar.gz
    tar -zxvf ruby-2.6.0.tar.gz
    cd ruby-2.6.0
    ./configure
    make
    make install
    
  • apt – Problem unlinking the file auxfiles

    When i get apt update on a Debian 9 server, i get following error

    # apt update
    Get:1 http://ftp.debian.org/debian stretch-updates InRelease [91.0 kB]
    Hit:2 http://security.debian.org stretch/updates InRelease                                                                          
    Hit:3 https://packages.sury.org/php stretch InRelease                              
    Ign:4 http://ftp.us.debian.org/debian stable InRelease                             
    Hit:5 http://ftp.us.debian.org/debian stable Release
    Fetched 91.0 kB in 0s (165 kB/s)
    Reading package lists... Done
    Building dependency tree       
    Reading state information... Done
    All packages are up to date.
    W: Problem unlinking the file auxfiles - Clean (21: Is a directory)
    # 
    

    The problem is fixed by deleting

    rm -rf /var/lib/apt/lists/
    
  • Install Redis from Source

    Install Redis from Source

    To install Redis from the source, run

    cd /usr/local/src
    wget http://download.redis.io/redis-stable.tar.gz
    tar xvzf redis-stable.tar.gz
    cd redis-stable
    make
    make install

    Copy config file

    mkdir /etc/redis/
    cp /usr/local/src/redis-stable/redis.conf  /etc/redis/

    Create redis user

    groupadd -r redis
    useradd -r -g redis -s /sbin/nologin -d /var/lib/redis -c "redis Daemons" redis

    Create directory

    mkdir /var/lib/redis
    chown redis:redis /var/lib/redis
    chmod 770 /var/lib/redis

    Set data directory

    vi /etc/redis/redis.conf

    Find

    dir ./

    Replace with

    dir /var/lib/redis

    Create service file

    vi /usr/lib/systemd/system/redis.service

    Add the following content to the file

    [Unit]
    Description=Redis persistent key-value database
    After=syslog.target
    
    [Service]
    ExecStart=/usr/local/bin/redis-server /etc/redis/redis.conf
    RestartSec=5s
    Restart=on-success
    User=redis
    Group=redis
    
    [Install]
    WantedBy=multi-user.target

    Enable and start Redis

    systemctl enable redis
    systemctl start redis

    To find Redis version, run

    redis-server --version

    To monitor Redis, you can use redis-cli

    Back to redis