Download latest version of ionCube loader from
cd /usr/local/src
wget https://downloads.ioncube.com/loader_downloads/ioncube_loaders_lin_x86-64.tar.gz
tar xvf ioncube_loaders_lin_x86-64.tar.gz
cd ioncube/
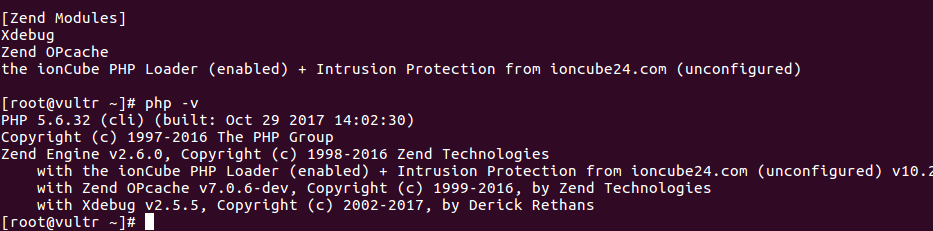
Check PHP version with
php -v
On Debian 9, default will be PHP 7.0, so you need to use file ioncube_loader_lin_7.0.so
Find PHP extension_dir, this is where you need to put PHP extensions.
root@ip-172-31-44-173:/usr/local/src/ioncube# php -i | grep  extension_dir
extension_dir => /usr/lib/php/20151012 => /usr/lib/php/20151012
root@ip-172-31-44-173:/usr/local/src/ioncube#
Copy the file to extension directory
cp /usr/local/src/ioncube/ioncube_loader_lin_7.0.so /usr/lib/php/20151012
Enable ionCube loader with
echo "zend_extension=ioncube_loader_lin_7.0.so" > /etc/php/7.0/mods-available/ioncube.ini
ln -s /etc/php/7.0/mods-available/ioncube.ini /etc/php/7.0/cli/conf.d/01-ioncube.ini
ln -s /etc/php/7.0/mods-available/ioncube.ini /etc/php/7.0/apache2/conf.d/01-ioncube.ini
Now php -m will show ioncube
root@ip-172-31-44-173:~# php -m | grep ion
ionCube Loader
Reflection
session
the ionCube PHP Loader (enabled) + Intrusion Protection from ioncube24.com (unconfigured)
root@ip-172-31-44-173:~#
Restart apache
service apache2 restart